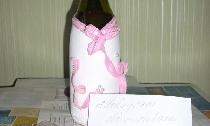
Champagne for the New Year
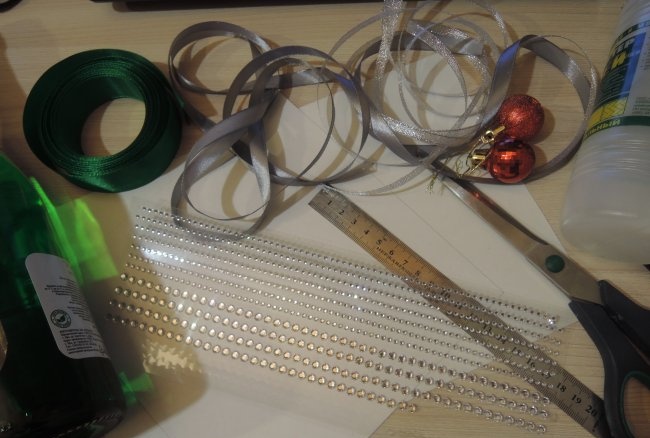
Today I want to show and tell you how to make an original and practical decoration for a bottle of champagne for the New Year. I will need the following materials:
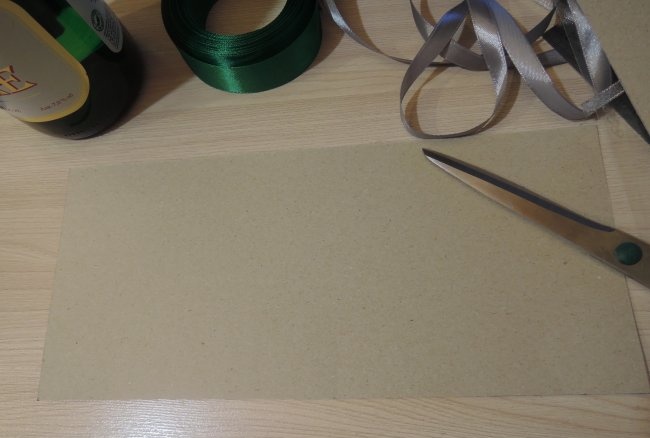
So, first of all, I make a cardboard base for the holiday decor; for this I cut out a rectangle of cardboard measuring 297x130 mm.
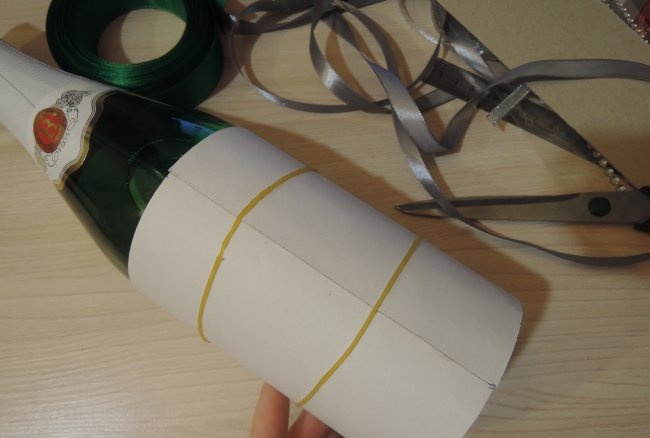
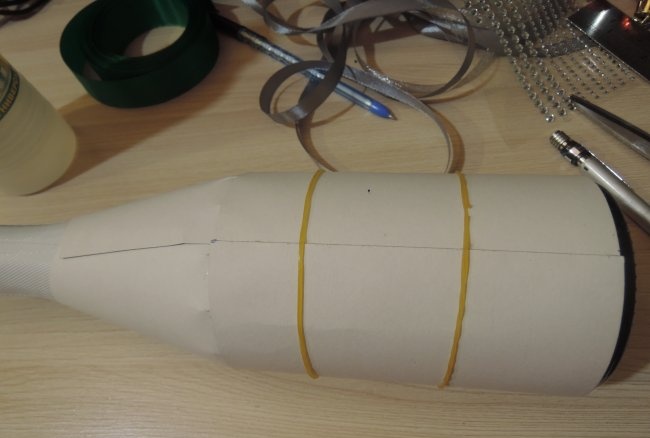
I apply the blank to the bottle and glue the edges. I fix it with a rubber band.
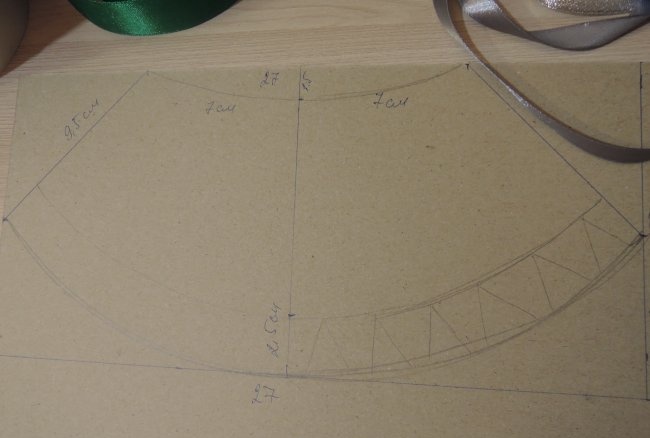
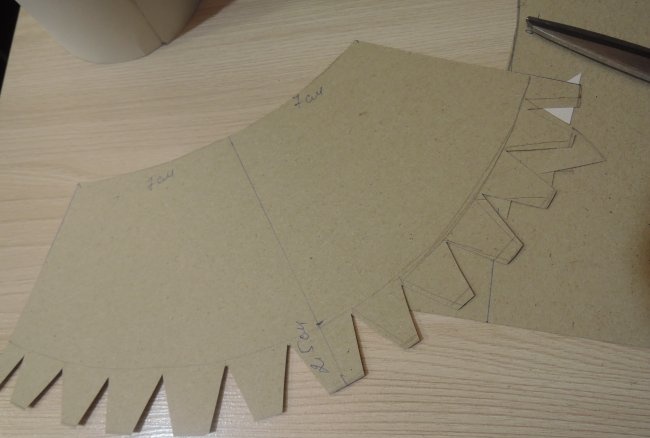
I draw out the upper part adjacent to the neck on paper, first I outline a rectangle of 27x13 cm, divide it in half (the remaining dimensions are indicated in the photo).
I cut it out and make cuts so that we can bend our workpiece and glue it securely.
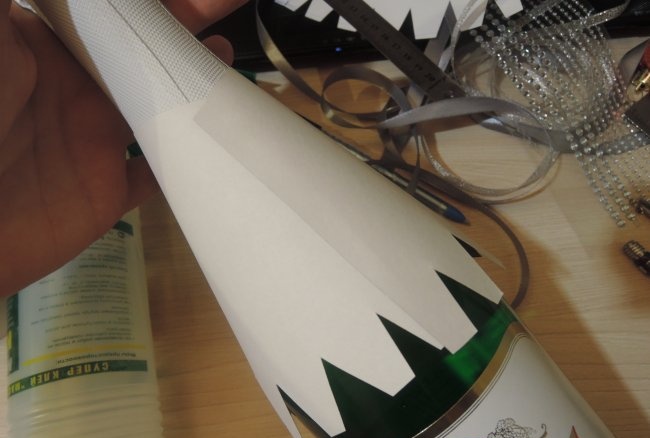
I also apply the top part to the neck and glue the edges.
Next, I connect both pieces using glue.
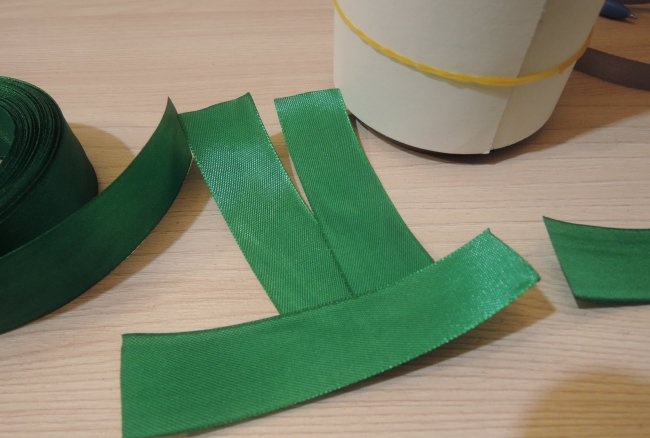
Then I cut the satin ribbon into 10 cm strips.
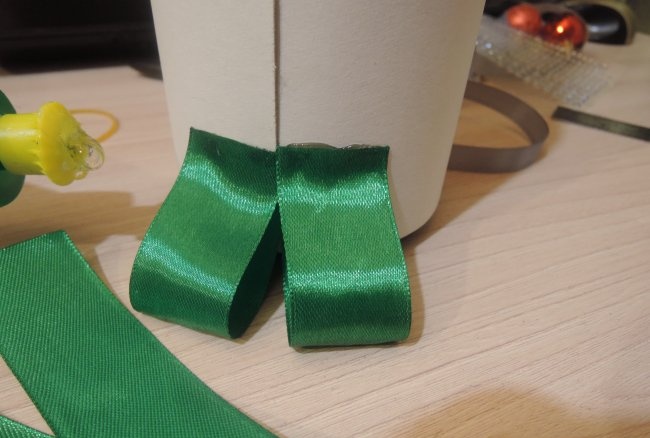
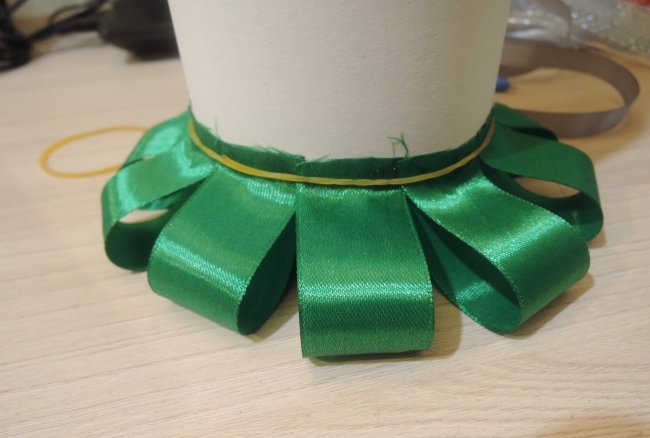
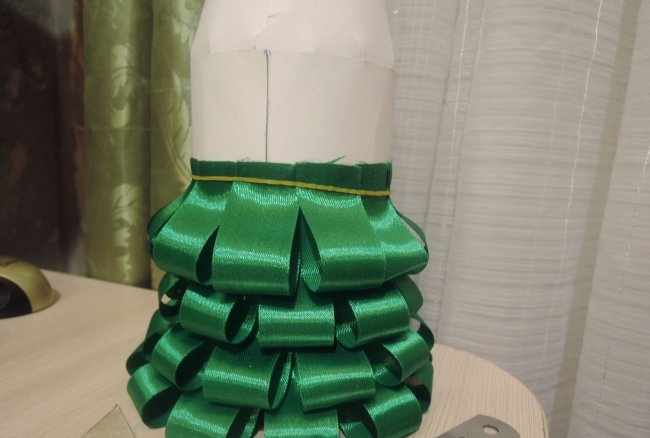
I bend the pieces in half, coat them with glue, and glue them 1.5-2 cm from the bottom of the bottle. I fix the row with a rubber band.
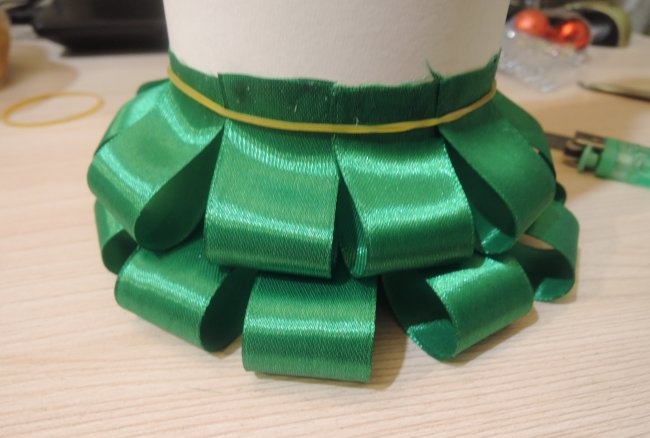
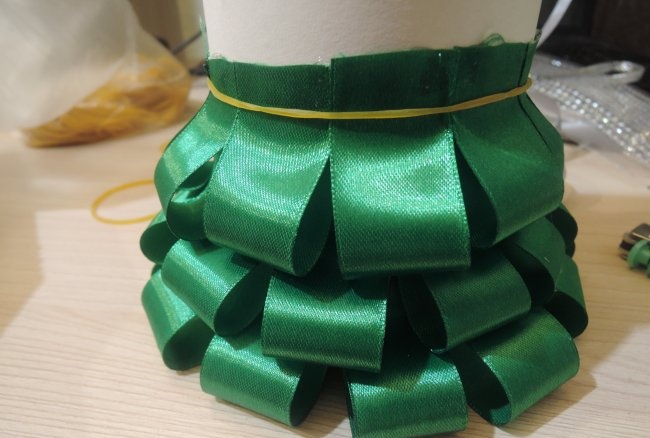
I form the next 3 rows in a similar way.
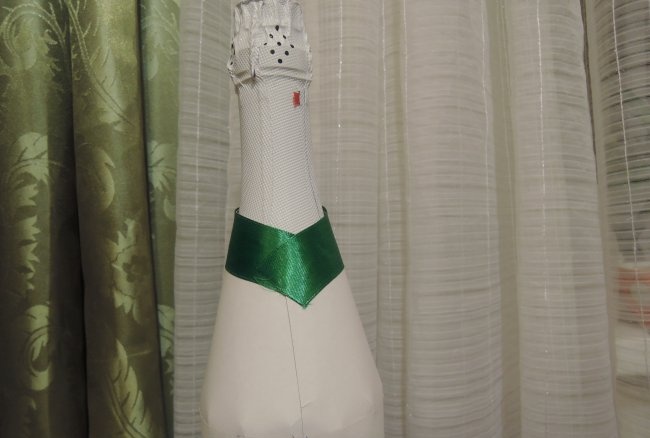
I move on to decorating the neck of the bottle, to do this I coat the top part with glue, apply tape, and cut off the excess.
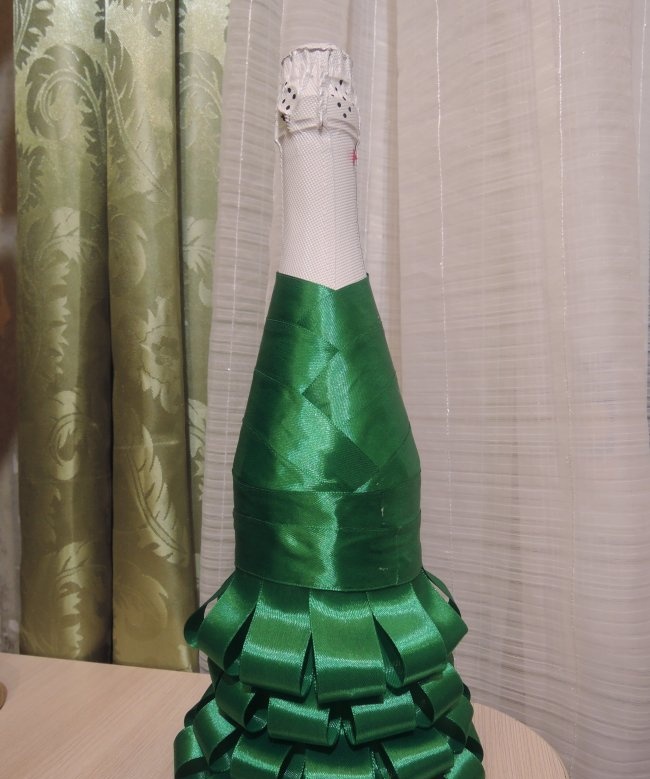
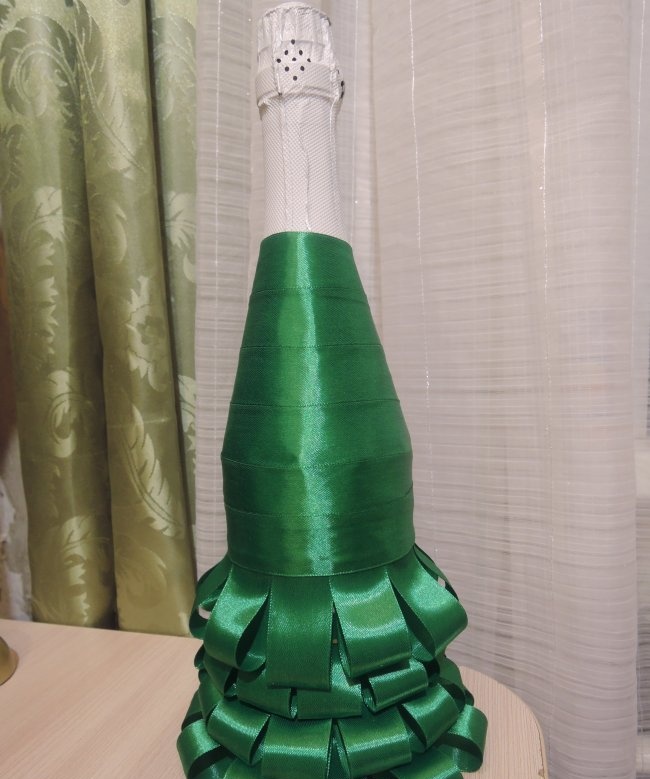
I decorate the upper part of the blank up to the previously made “skirt”.
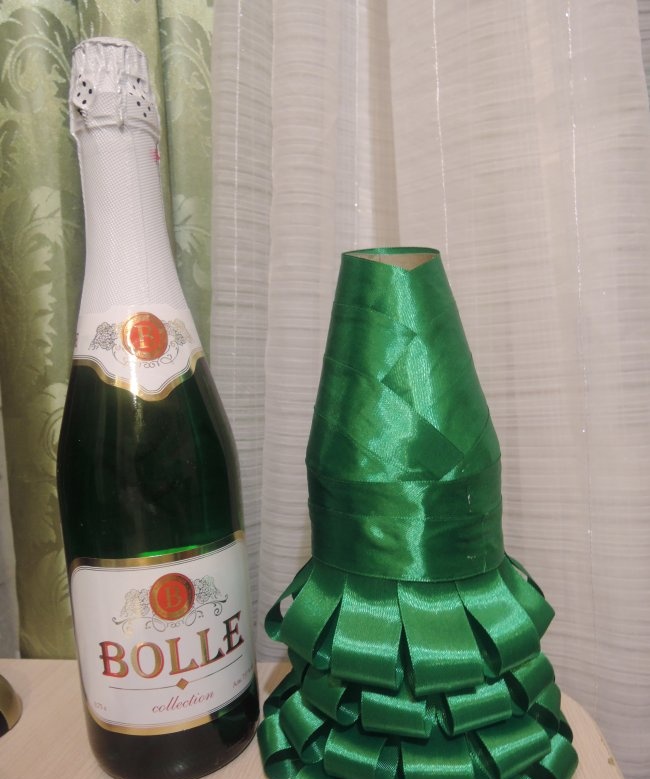
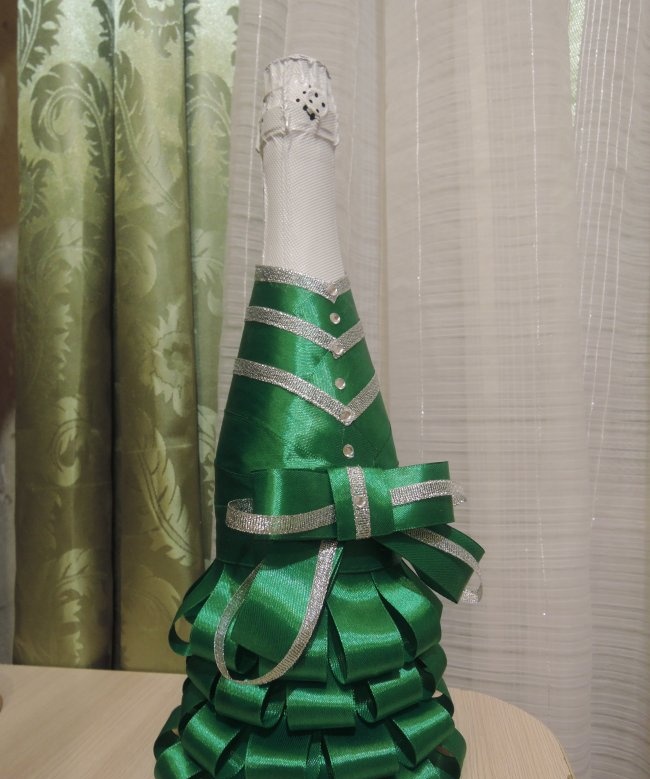
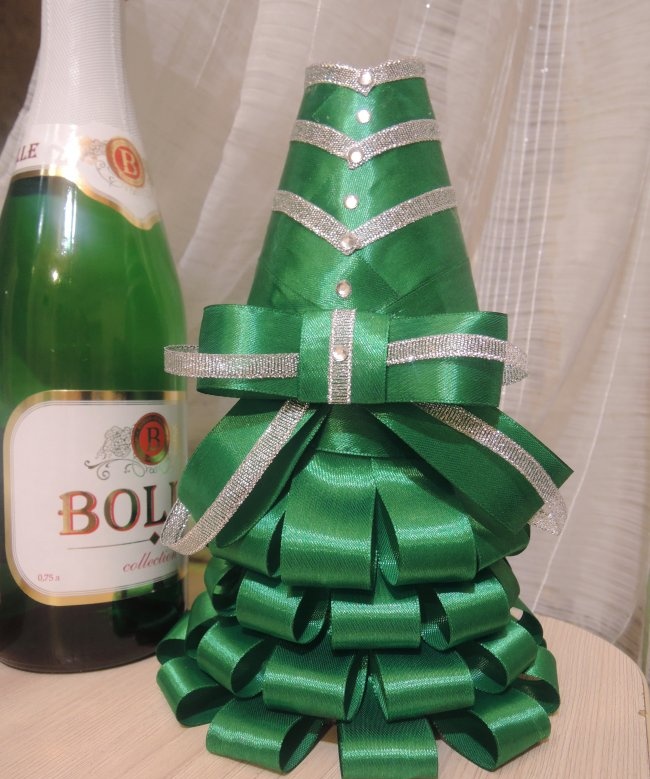
This is the removable Christmas tree I got.
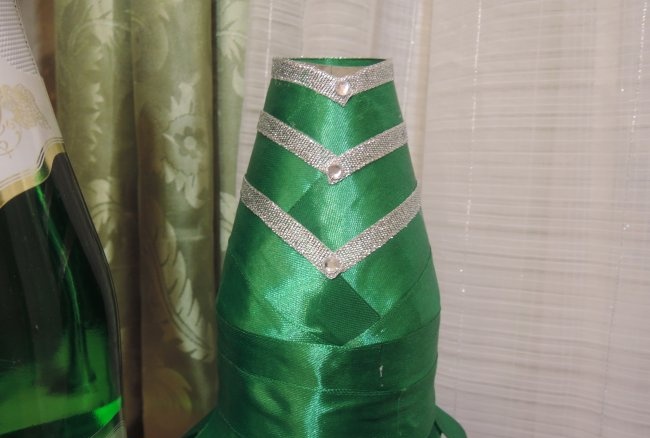
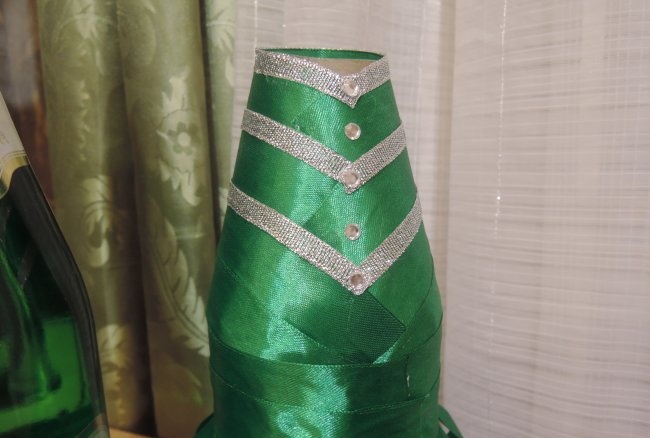
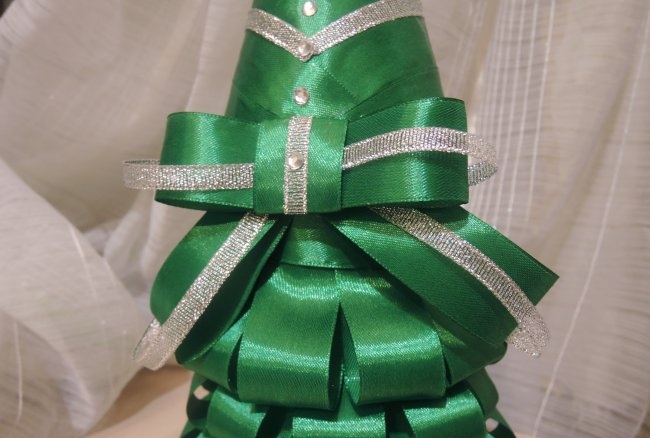
I make it from silver ribbon and rhinestones decor. You can come up with it yourself.
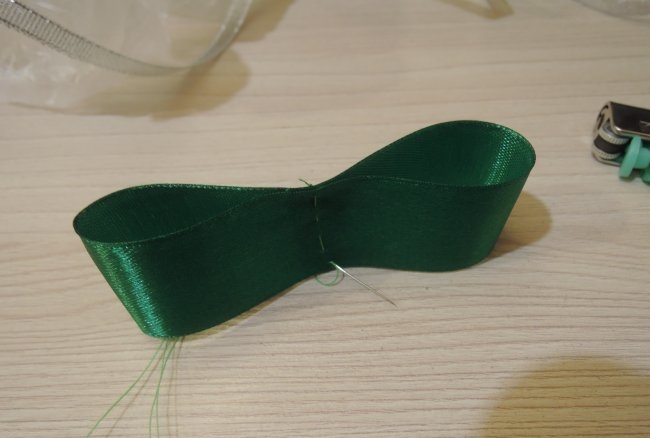
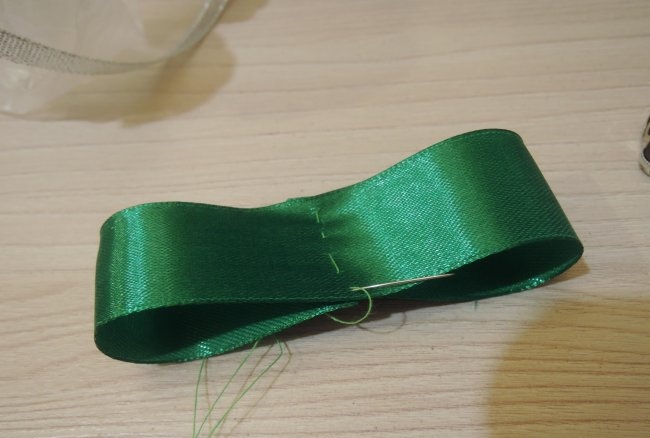
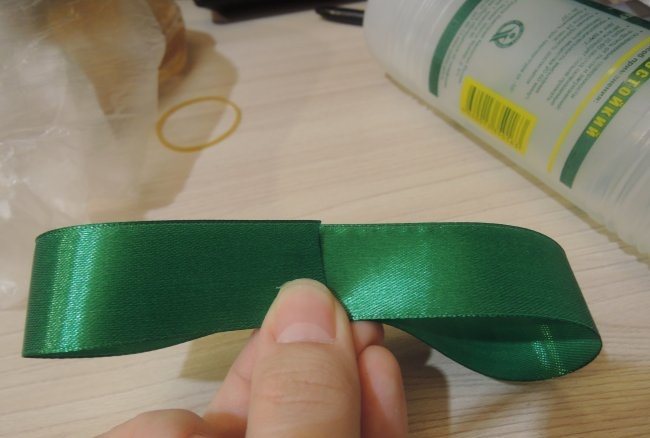
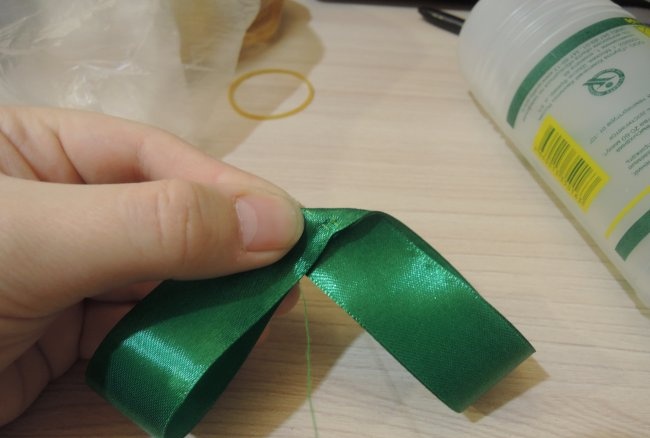
To make a bow, I cut 15-20 cm of green satin ribbon, press each edge to the center, and sew it together.
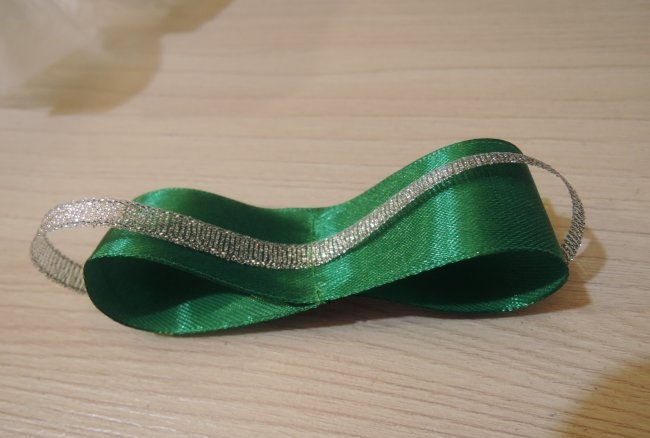
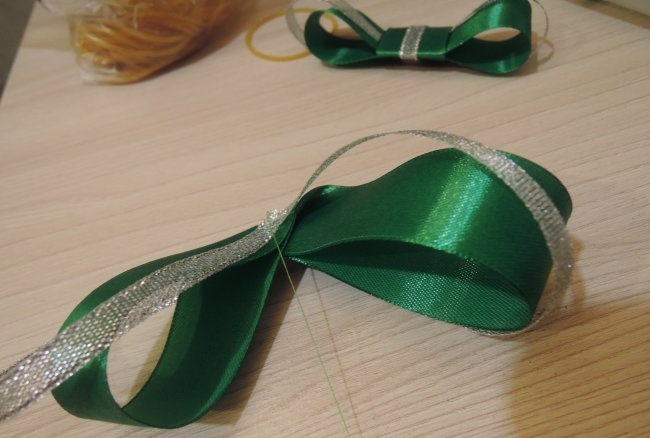
I sew a silver one onto the top of the green ribbon.
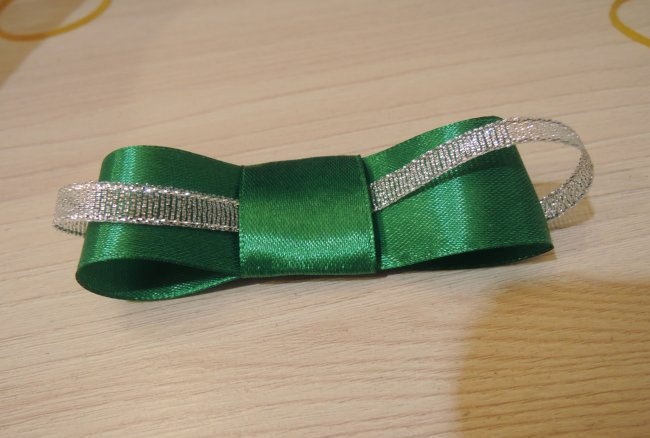
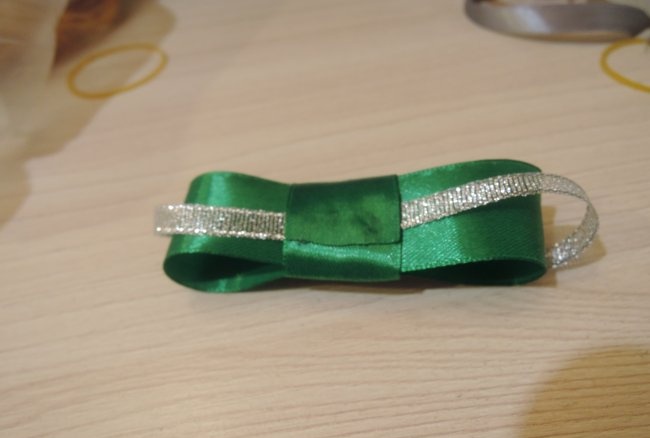
Next, from a small piece I make a jumper for our bow.
I decorate with silver ribbon. I repeat, the decor can be anything you want.
For the ponytails, I measure approximately 20-25 cm, I also press the edges of the tape to the center and sew them together.
I bend it at an angle and stitch it again.
It was the turn of the silver ribbon again.
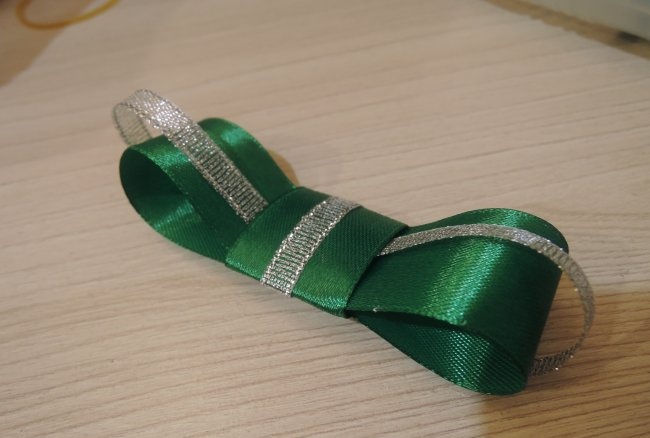
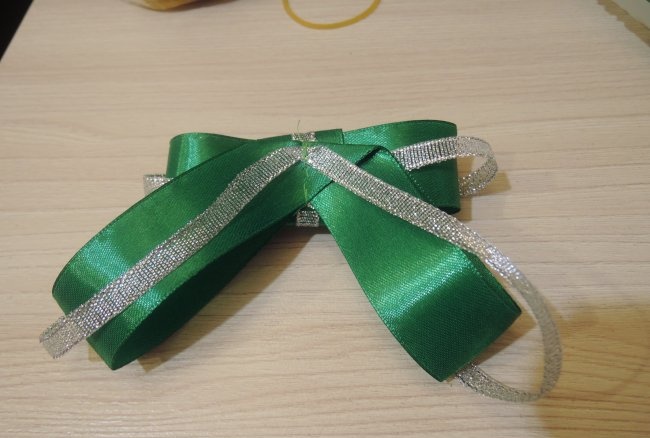
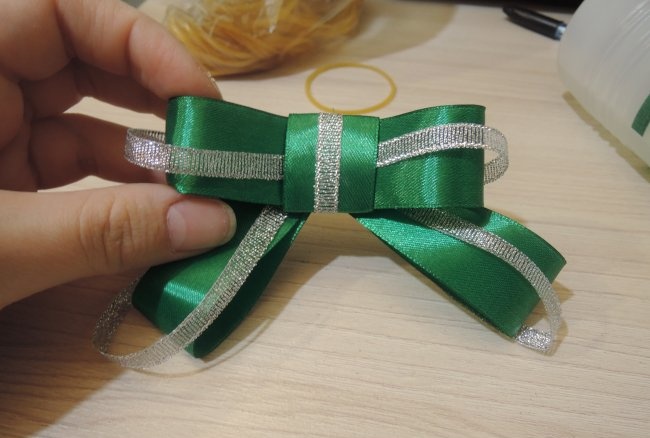
So, I sew the bow itself and the tails together. This is the Christmas tree decoration I came up with.
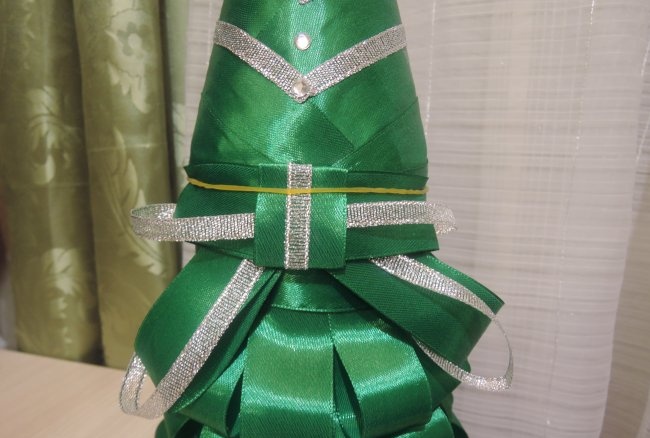
I glue an elegant bow to the junction of the “fluffy skirt” and the top part.
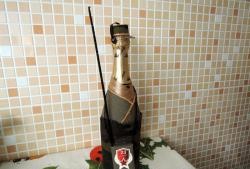
This is the New Year's beauty I got.
Let me remind you that you can use this decor next year.
- - satin ribbon (2.5 cm) green - 5-6 m,
- - silver ribbon (1 cm) - 1-2 m,
- - rhinestones,
- - glue,
- - scissors,
- - cardboard,
- - a bottle of champagne.
So, first of all, I make a cardboard base for the holiday decor; for this I cut out a rectangle of cardboard measuring 297x130 mm.
I apply the blank to the bottle and glue the edges. I fix it with a rubber band.
I draw out the upper part adjacent to the neck on paper, first I outline a rectangle of 27x13 cm, divide it in half (the remaining dimensions are indicated in the photo).
I cut it out and make cuts so that we can bend our workpiece and glue it securely.
I also apply the top part to the neck and glue the edges.
Next, I connect both pieces using glue.
Then I cut the satin ribbon into 10 cm strips.
I bend the pieces in half, coat them with glue, and glue them 1.5-2 cm from the bottom of the bottle. I fix the row with a rubber band.
I form the next 3 rows in a similar way.
I move on to decorating the neck of the bottle, to do this I coat the top part with glue, apply tape, and cut off the excess.
I decorate the upper part of the blank up to the previously made “skirt”.
This is the removable Christmas tree I got.
I make it from silver ribbon and rhinestones decor. You can come up with it yourself.
To make a bow, I cut 15-20 cm of green satin ribbon, press each edge to the center, and sew it together.
I sew a silver one onto the top of the green ribbon.
Next, from a small piece I make a jumper for our bow.
I decorate with silver ribbon. I repeat, the decor can be anything you want.
For the ponytails, I measure approximately 20-25 cm, I also press the edges of the tape to the center and sew them together.
I bend it at an angle and stitch it again.
It was the turn of the silver ribbon again.
So, I sew the bow itself and the tails together. This is the Christmas tree decoration I came up with.
I glue an elegant bow to the junction of the “fluffy skirt” and the top part.
This is the New Year's beauty I got.
Let me remind you that you can use this decor next year.
Similar master classes
Particularly interesting
Comments (0)

