How to make a camp stove-oven from a balloon
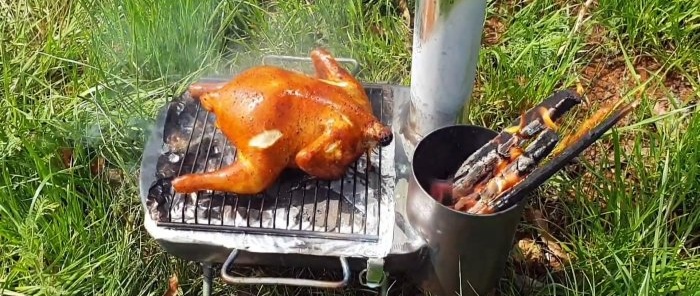
When relaxing in nature for a long time, you have to limit your diet to dishes that can be cooked in a pot or over coals. If you make a homemade oven-stove from a gas cylinder, then even on a camping trip you will be able to cook anything, just like in a regular kitchen.
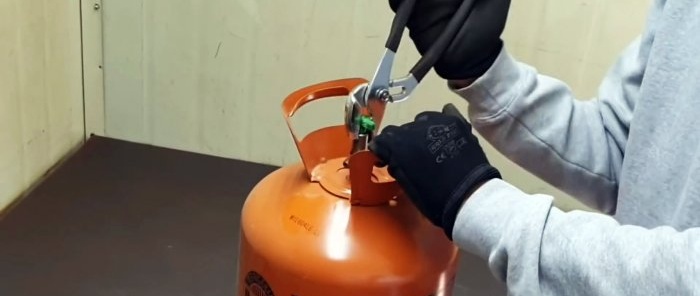
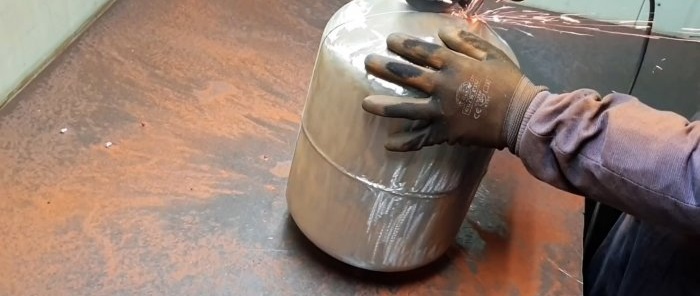
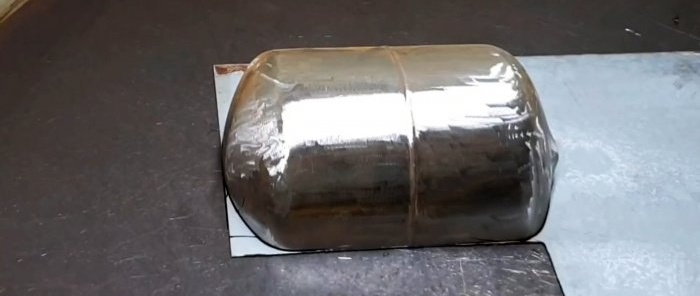
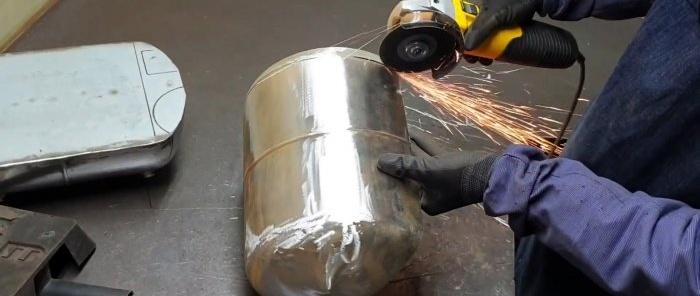
You need to unscrew the tap from the gas cylinder, cut off the handle, remove the paint and dissolve it lengthwise into two equal halves. It is better not to leave the paint, as it will burn and smoke, which will interfere with cooking in the stove.
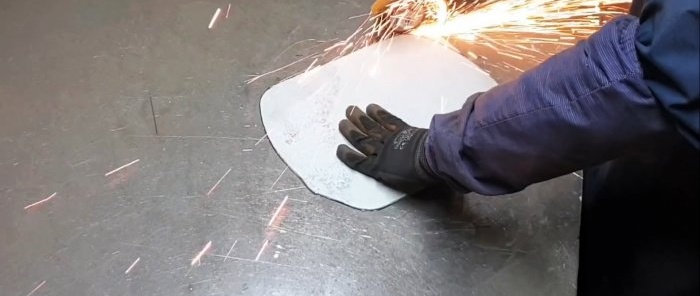
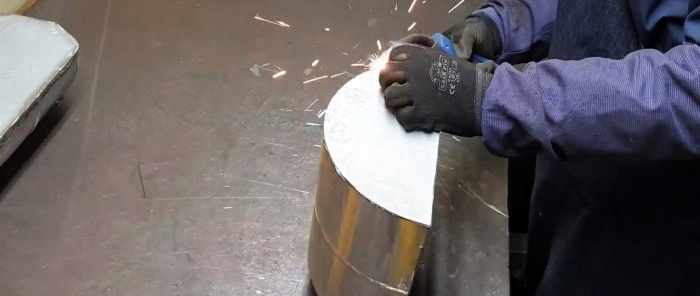
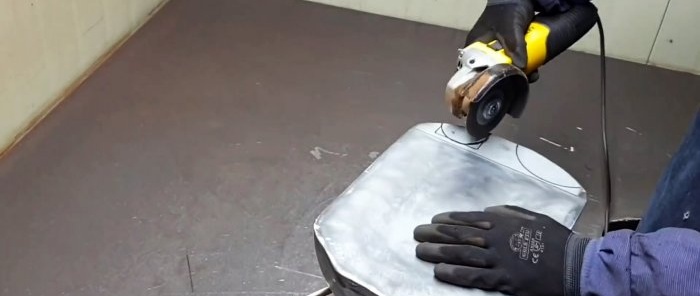
A plate is cut from sheet steel in the shape of one of the halves of the cylinder. It will be used as a hob.
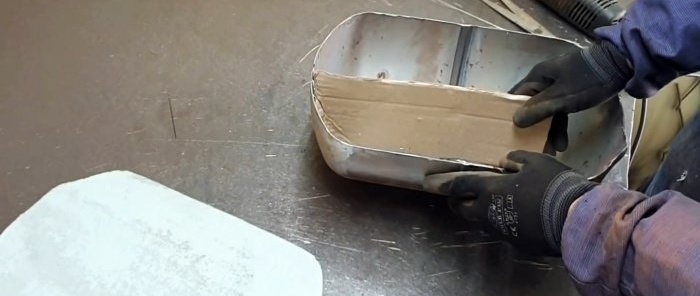
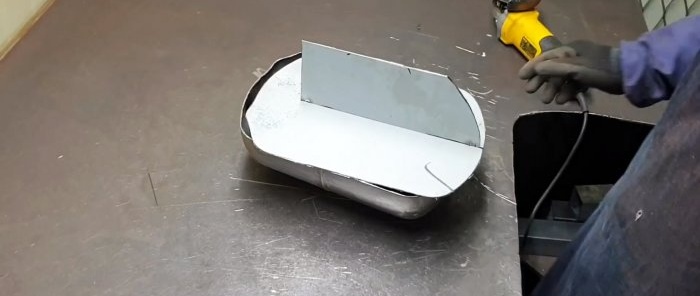
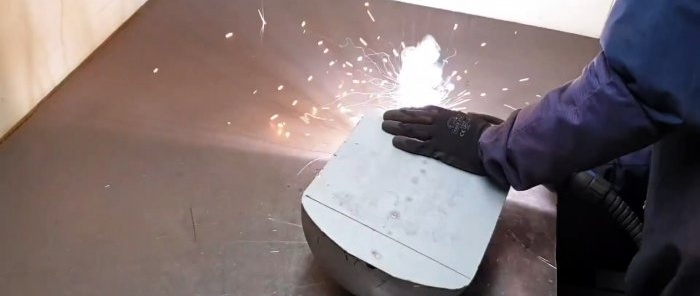
Structurally, the oven provides for a flame supply under the stove. In order for it to heat the entire surface evenly, you need to divide the space under the stove into 2 chambers.To do this, a template is made from cardboard, according to which a partition is cut out of sheet steel. Its task is to divide half of the cylinder under the stove into 2 chambers, between which there is a connection on one side through a small window. The partition is welded to the plate, then this structure is hermetically welded onto half of the cylinder.
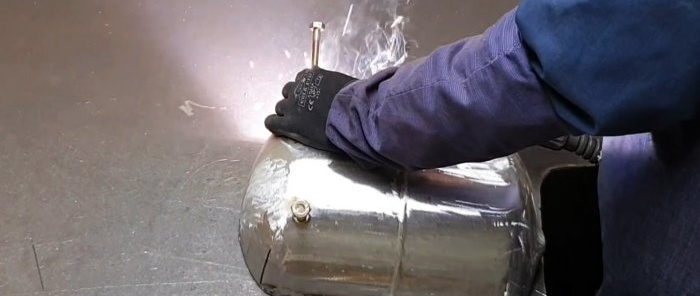
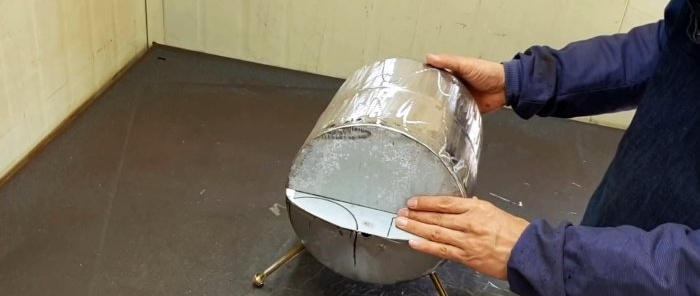
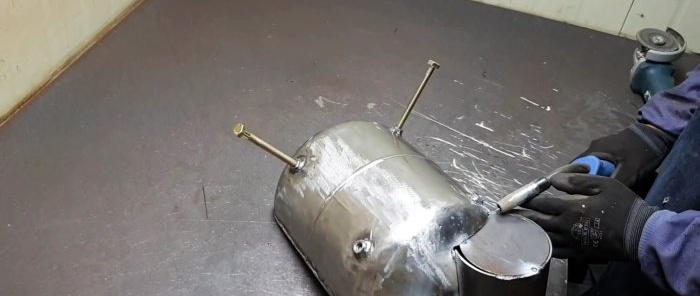
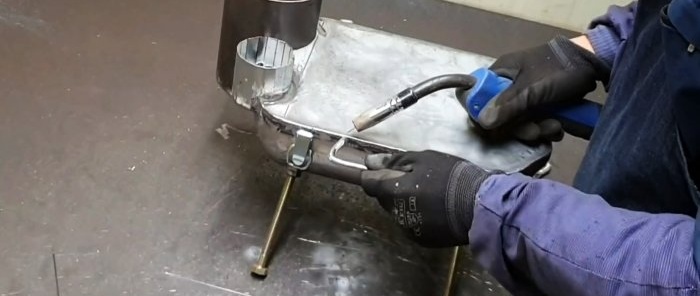
Next, the legs are welded to the resulting workpiece. Long bolts can be used as these. To attach them, you need to weld nuts to the bottom, into which the bolts will be screwed. This fastening will allow them to be removed for compact storage of the stove.
The second half of the cylinder is used to make a lid for the oven. To do this, you need to cut off one rounded end. It is then jammed with sheet steel.
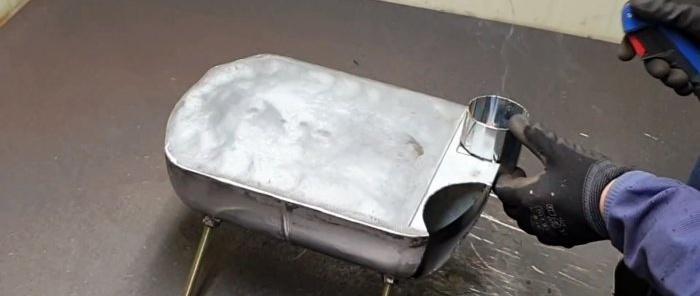
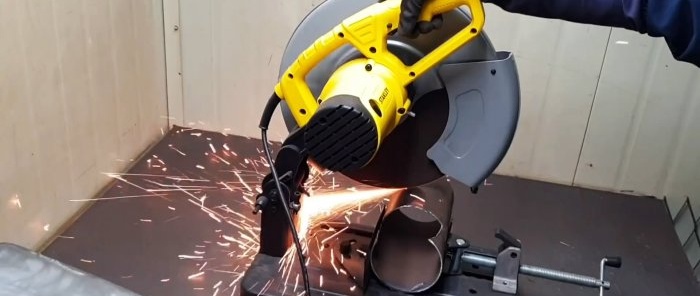
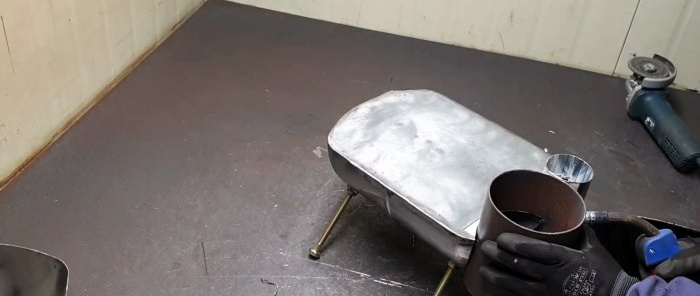
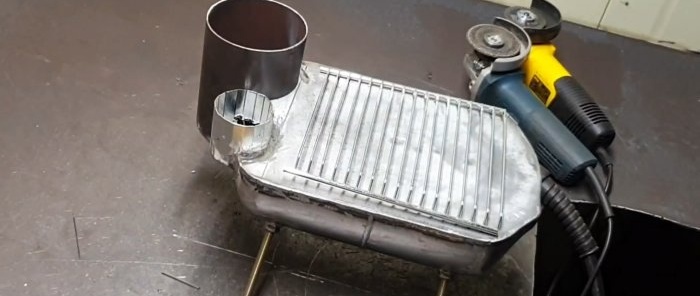
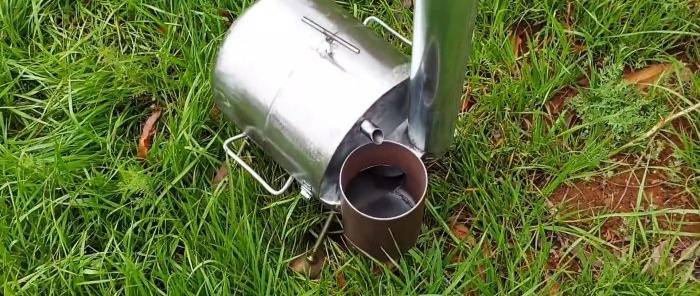
On the part of the cylinder with the stove protruding from under the lid, you need to cut out 2 windows. A piece of pipe with a diameter of about 200 mm is welded into the largest of them. It will be used as a firebox. A pipe is welded into the smaller window. The chimney will be placed on it.
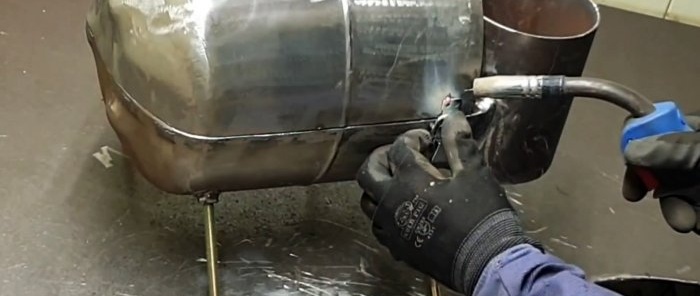
Next, the bottom is welded to the firebox and pipe.
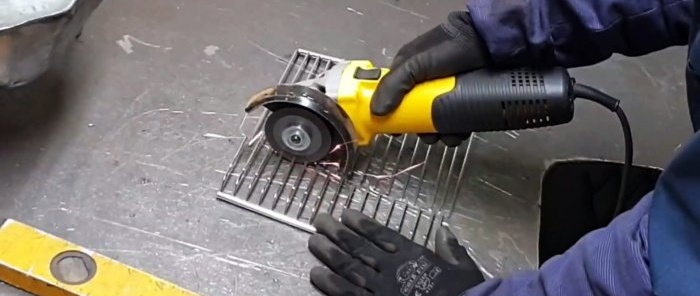
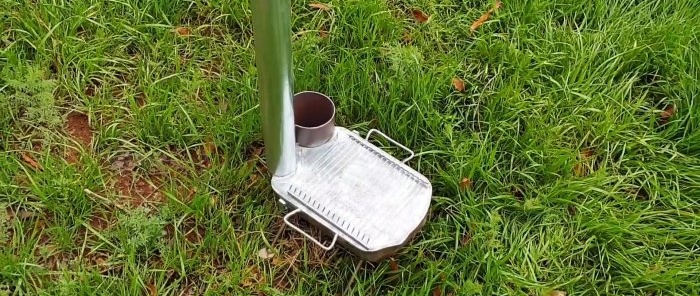
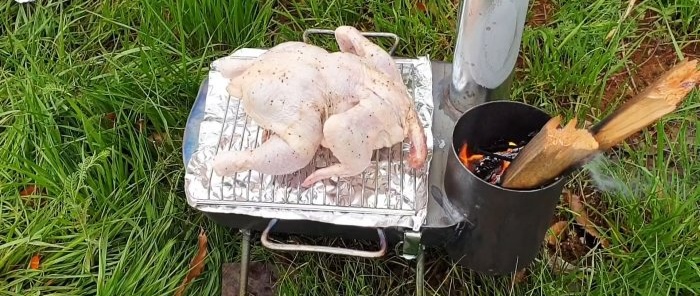
In order to avoid placing food directly on the stove to which it will stick, you need to make a grate. Ideally, take a factory-made stainless steel grill grate. If it is wide, then you will need to narrow it by cutting out the excess from the middle and then welding the halves together.
To secure the oven lid, it is optimal to use 2 lever latches. They will allow you to completely remove the lid, revealing the hob.
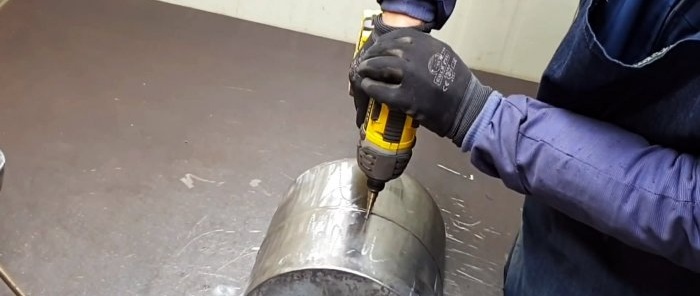
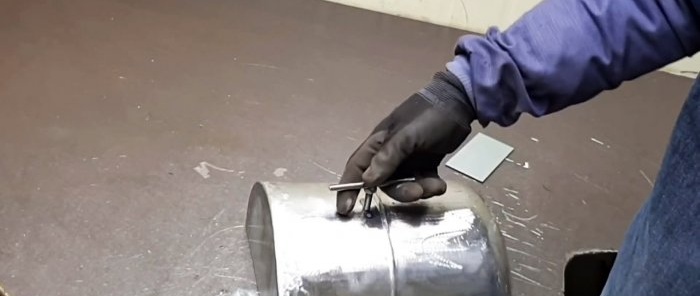
To be able to lift the hot lid, a removable handle must be installed. It is made in a T-shape. A hole is drilled in the cover, onto which a nut is welded on the inside. The handle itself is equipped with a thread.As a result, when it is necessary to lift the lid, the handle is screwed in and then immediately unscrewed back. This way it doesn't get hot.
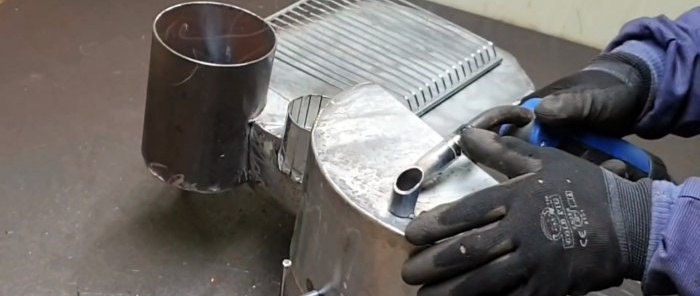
Also, a hole is made at the end of the lid opposite the firebox, into which a thin tube is welded to remove steam. You need to weld 2 handles to the bottom half of the stove for easy carrying.
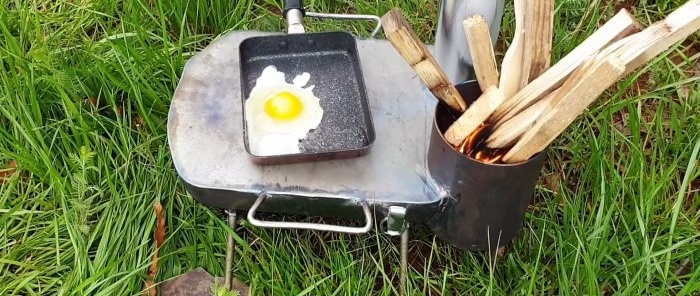
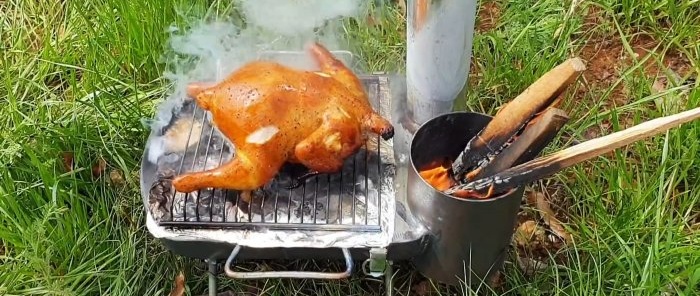
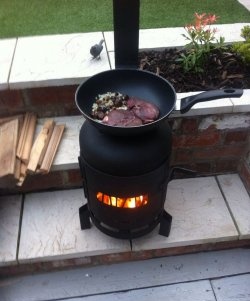
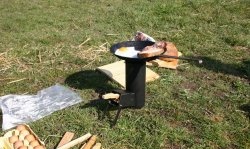
To use the oven, you must first install a chimney pipe on its outlet. After this, the wood is loaded into the firebox and the flame is ignited. Due to the height of the chimney, a strong draft is created, so the fire is drawn under the stove, heating it evenly.
You can place any dishes on the stove without fear of damaging them with soot.
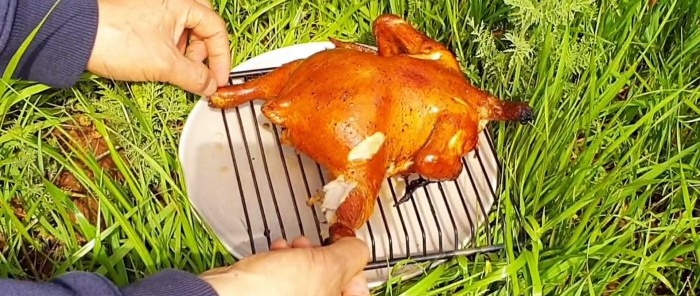
If you cover it with a lid, it becomes an oven. When using it in this mode, it is important to place food on the grill so that it does not burn. If fat drips during baking, you can lay foil underneath and the surface underneath will remain clean. The ashes are knocked out of the firebox by turning the oven over.
It's finger licking delicious.
Materials:
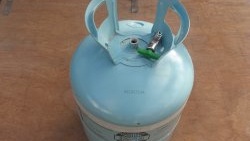
- gas cylinder 27 liters (from freon will also work);
- Sheet steel;
- steel pipe d200 mm;
- steel pipe d80 mm;
- lever latches 2 pcs.;
- tube d20 mm;
- long bolts with nuts 4 pcs.;
- steel rod 6 mm;
- grill grate.
Making an oven
You need to unscrew the tap from the gas cylinder, cut off the handle, remove the paint and dissolve it lengthwise into two equal halves. It is better not to leave the paint, as it will burn and smoke, which will interfere with cooking in the stove.
A plate is cut from sheet steel in the shape of one of the halves of the cylinder. It will be used as a hob.
Structurally, the oven provides for a flame supply under the stove. In order for it to heat the entire surface evenly, you need to divide the space under the stove into 2 chambers.To do this, a template is made from cardboard, according to which a partition is cut out of sheet steel. Its task is to divide half of the cylinder under the stove into 2 chambers, between which there is a connection on one side through a small window. The partition is welded to the plate, then this structure is hermetically welded onto half of the cylinder.
Next, the legs are welded to the resulting workpiece. Long bolts can be used as these. To attach them, you need to weld nuts to the bottom, into which the bolts will be screwed. This fastening will allow them to be removed for compact storage of the stove.
The second half of the cylinder is used to make a lid for the oven. To do this, you need to cut off one rounded end. It is then jammed with sheet steel.
On the part of the cylinder with the stove protruding from under the lid, you need to cut out 2 windows. A piece of pipe with a diameter of about 200 mm is welded into the largest of them. It will be used as a firebox. A pipe is welded into the smaller window. The chimney will be placed on it.
Next, the bottom is welded to the firebox and pipe.
In order to avoid placing food directly on the stove to which it will stick, you need to make a grate. Ideally, take a factory-made stainless steel grill grate. If it is wide, then you will need to narrow it by cutting out the excess from the middle and then welding the halves together.
To secure the oven lid, it is optimal to use 2 lever latches. They will allow you to completely remove the lid, revealing the hob.
To be able to lift the hot lid, a removable handle must be installed. It is made in a T-shape. A hole is drilled in the cover, onto which a nut is welded on the inside. The handle itself is equipped with a thread.As a result, when it is necessary to lift the lid, the handle is screwed in and then immediately unscrewed back. This way it doesn't get hot.
Also, a hole is made at the end of the lid opposite the firebox, into which a thin tube is welded to remove steam. You need to weld 2 handles to the bottom half of the stove for easy carrying.
To use the oven, you must first install a chimney pipe on its outlet. After this, the wood is loaded into the firebox and the flame is ignited. Due to the height of the chimney, a strong draft is created, so the fire is drawn under the stove, heating it evenly.
You can place any dishes on the stove without fear of damaging them with soot.
If you cover it with a lid, it becomes an oven. When using it in this mode, it is important to place food on the grill so that it does not burn. If fat drips during baking, you can lay foil underneath and the surface underneath will remain clean. The ashes are knocked out of the firebox by turning the oven over.
It's finger licking delicious.
Watch the video
Similar master classes
Particularly interesting
Comments (0)

