How to Make a Miniature 12V Drilling Press
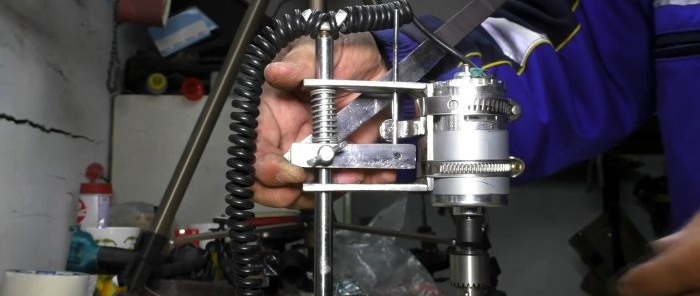
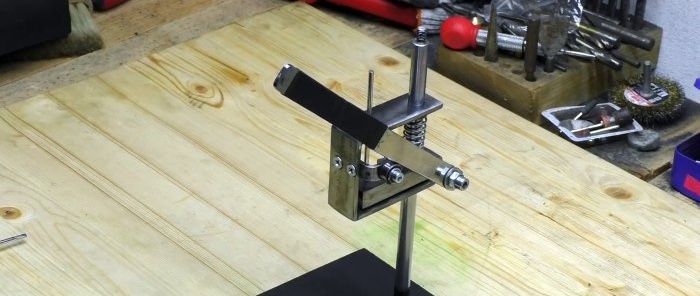
For precise drilling on small parts, it is best to use a small drilling machine. It allows you to correctly position the drill at a right angle, which is extremely important when even a millimeter error can ruin the part. You can assemble such a machine in a garage using a Chinese motor as a drive.
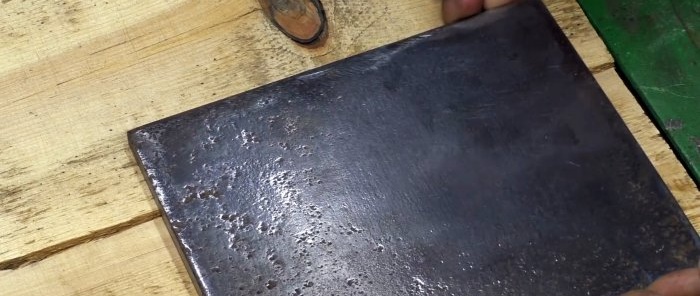
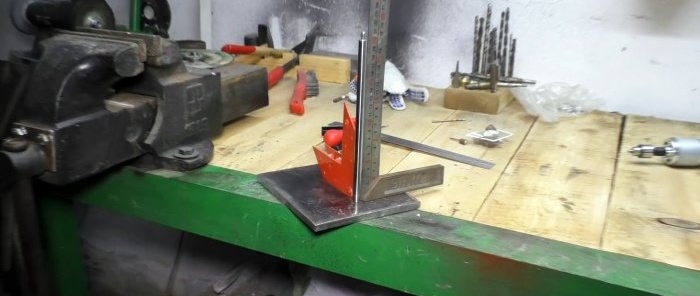
Assembling the machine must begin with the manufacture of its sole. To do this, a plate of approximately 25x25 cm is cut out of sheet steel. It must be sanded immediately to make it easier to paint later.
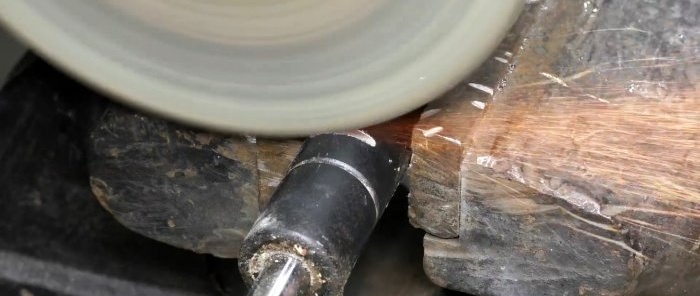
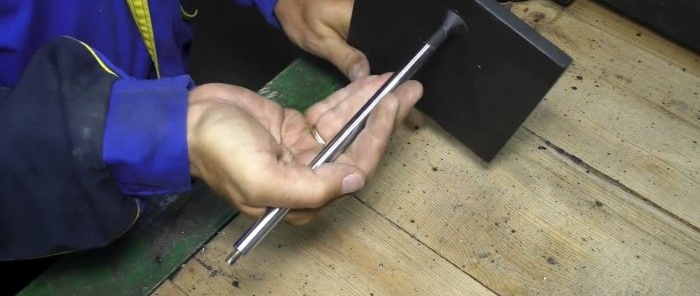
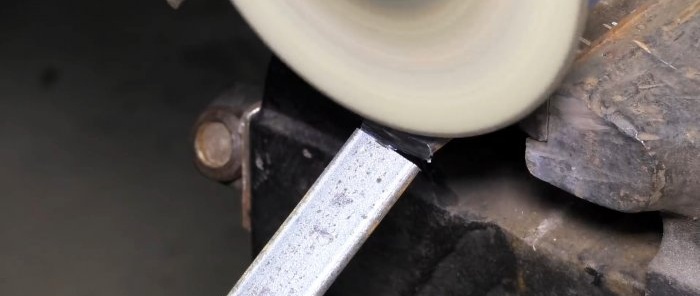
To make a machine stand, you need to prepare a stainless steel rod. It can be removed from a broken car trunk support. It is important to drill through the shock absorber before cutting it to relieve pressure.
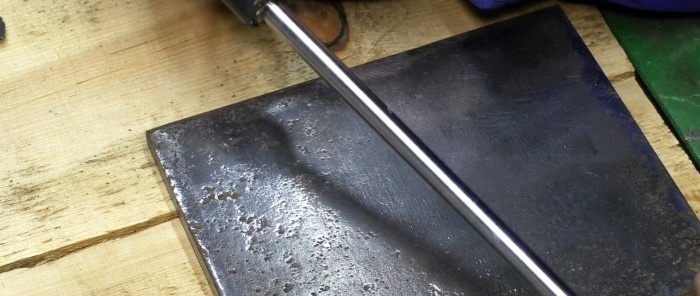
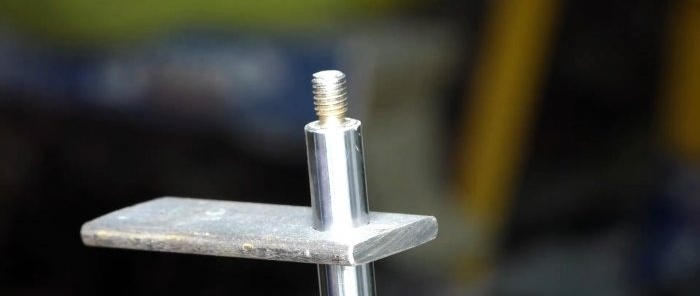
Next, you need to weld the rod to the sole at a strictly right angle.For reliability, it is better to weld through a hole, so the plate should be drilled. After welding, the sole and seam can be painted.
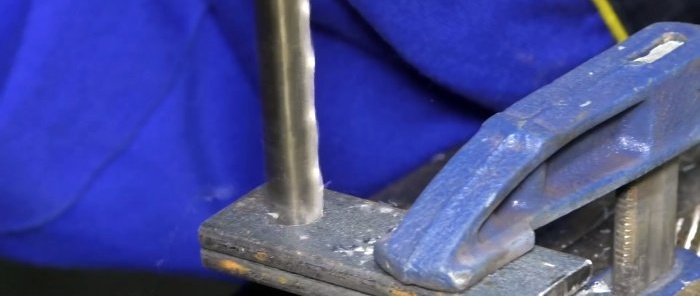
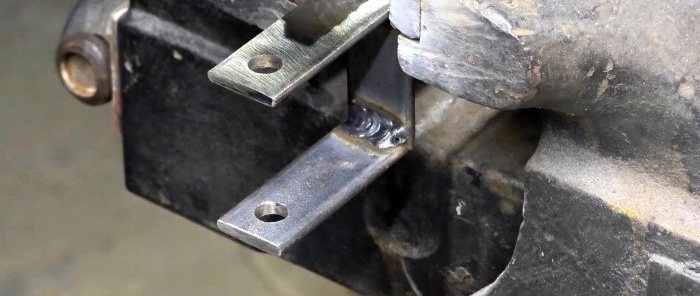
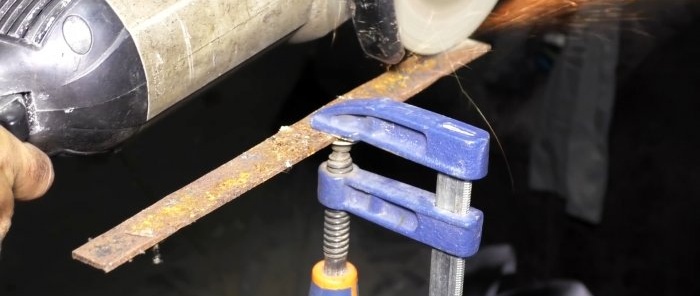
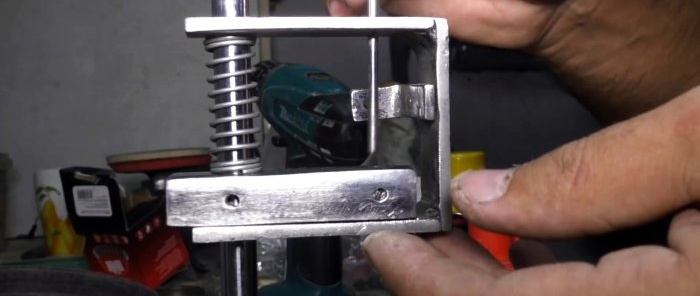
Then the sliding mechanism is made. To do this, 2 pieces of 55-70 mm each are cut from the strip. The parts are clamped together and drilled in one pass to ensure that the holes match perfectly. Next, you need to drill them to the diameter of the rod, preventing the formation of backlash. Therefore, ideally, adjust the holes using a reamer. Then the drilled blanks are welded together with another piece of strip. You need to get a U-shaped blank. If desired, it can be sanded.
It is necessary to make holes in the U-shaped bracket for the limiter. The latter is a piece of polished steel rod with a diameter of 3-4 mm.
The stationary base of the machine is made from scraps of a 20x20 mm square. To increase the spindle stroke, the square must be shortened in height by 5 mm. Then the hole for the rod is duplicated in the workpiece, as on the previously made bracket.
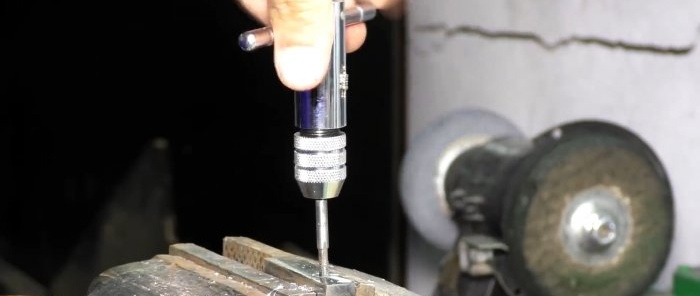
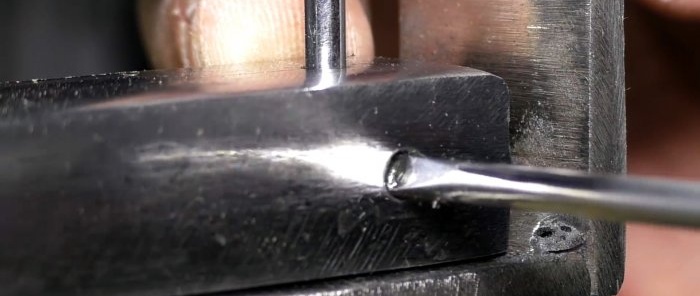
After trying on the square, you need to mark on it the point of contact of the limiter. A hole is made in it for its insertion. Then a hole is drilled in the side exactly opposite. After cutting the thread, a screw will be screwed into it, allowing you to tighten the limiter. You also need to drill a hole on the side for the rod. A thread is cut into it to press the square to the rack. On the reverse side, a little closer to the edge, a hole is made for attaching the handle.
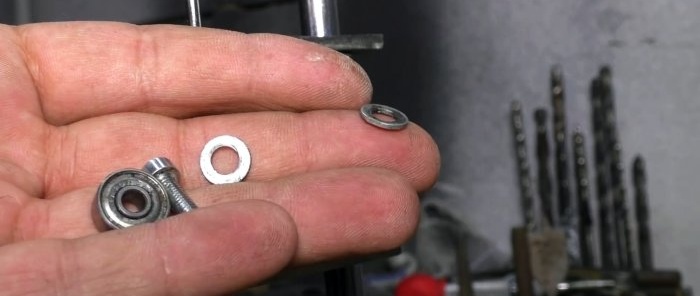
In the center of the sliding bracket you need to install a small corner on the screws. A sliding bearing will be screwed to it using a bolt.
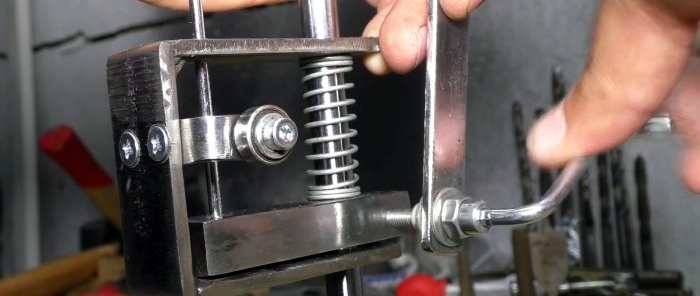
The handles of the machine are made from cut strips. It should be attached to a fixed square behind the rod using a bolt.The strip must be bent in such a way that, after resting on the sliding bearing, it moves slightly to the side for a comfortable grip.
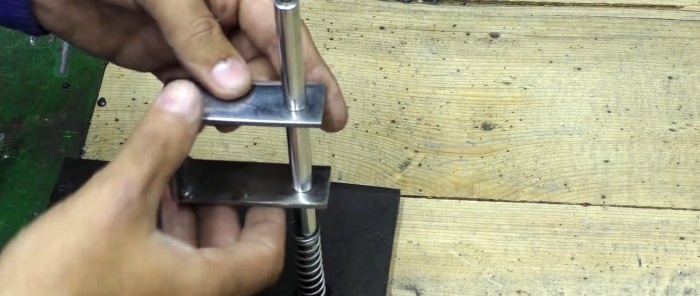
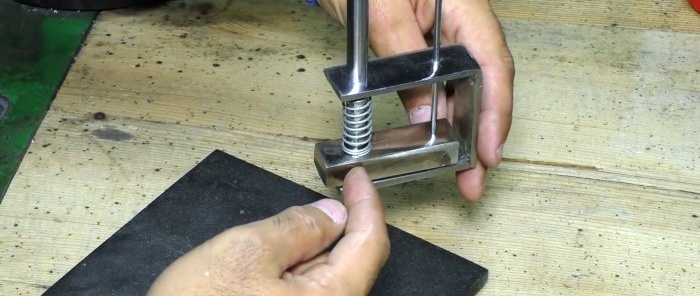
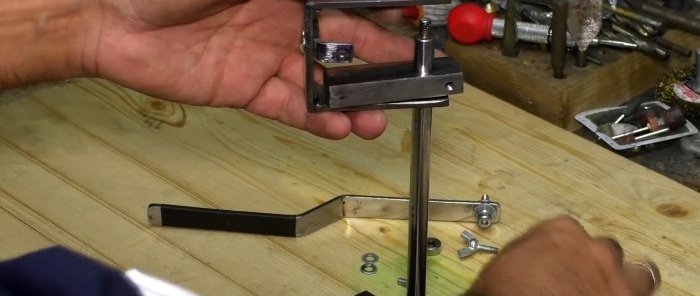
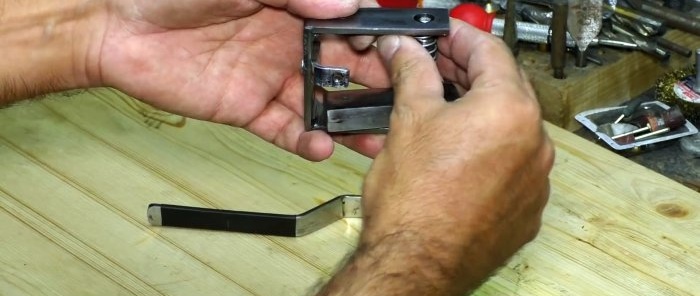
Next, the machine bed is assembled. To do this, a part of the bracket is put on the rack, then the square is inserted, the spring and the bracket are put on completely. After this, the limiter is inserted and tightened with a screw through the side hole. A bearing is screwed onto the corner of the bracket. Then a handle is screwed onto the square, and it itself is pressed with a wing bolt to the rack. Finally, you need to lubricate the rod for better sliding.
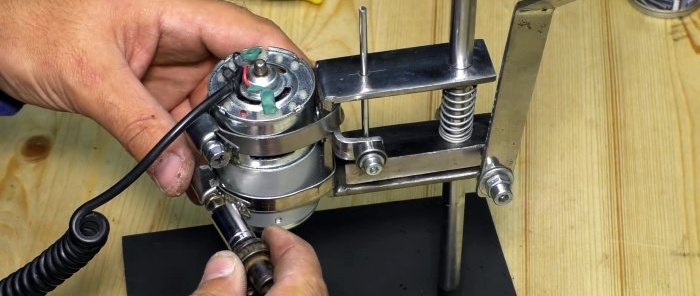
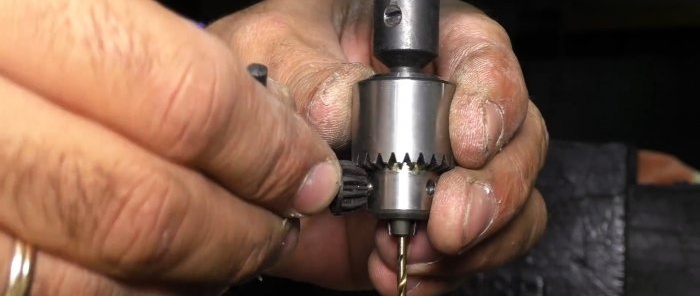
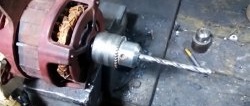
The engine is attached to the frame using two clamps. It is then connected to the power supply. If you have a speed controller, it is better to do this through it. Then a drill is installed in the chuck, and the machine is adjusted in height. This is done by releasing the bolt on the square, pressing it against the post.
Materials:
- electric motor 775 -
- miniature drill chuck -
- steel plate 5-10 mm;
- polished stainless steel rod;
- steel strip 40x3 mm;
- compression spring;
- steel bar 3-4 mm;
- steel square 20x20 mm;
- mini bearing;
- steel clamps – 2 pcs.;
- screws, nuts, bolts, washers.
Drilling machine manufacturing process
Assembling the machine must begin with the manufacture of its sole. To do this, a plate of approximately 25x25 cm is cut out of sheet steel. It must be sanded immediately to make it easier to paint later.
To make a machine stand, you need to prepare a stainless steel rod. It can be removed from a broken car trunk support. It is important to drill through the shock absorber before cutting it to relieve pressure.
Next, you need to weld the rod to the sole at a strictly right angle.For reliability, it is better to weld through a hole, so the plate should be drilled. After welding, the sole and seam can be painted.
Then the sliding mechanism is made. To do this, 2 pieces of 55-70 mm each are cut from the strip. The parts are clamped together and drilled in one pass to ensure that the holes match perfectly. Next, you need to drill them to the diameter of the rod, preventing the formation of backlash. Therefore, ideally, adjust the holes using a reamer. Then the drilled blanks are welded together with another piece of strip. You need to get a U-shaped blank. If desired, it can be sanded.
It is necessary to make holes in the U-shaped bracket for the limiter. The latter is a piece of polished steel rod with a diameter of 3-4 mm.
The stationary base of the machine is made from scraps of a 20x20 mm square. To increase the spindle stroke, the square must be shortened in height by 5 mm. Then the hole for the rod is duplicated in the workpiece, as on the previously made bracket.
After trying on the square, you need to mark on it the point of contact of the limiter. A hole is made in it for its insertion. Then a hole is drilled in the side exactly opposite. After cutting the thread, a screw will be screwed into it, allowing you to tighten the limiter. You also need to drill a hole on the side for the rod. A thread is cut into it to press the square to the rack. On the reverse side, a little closer to the edge, a hole is made for attaching the handle.
In the center of the sliding bracket you need to install a small corner on the screws. A sliding bearing will be screwed to it using a bolt.
The handles of the machine are made from cut strips. It should be attached to a fixed square behind the rod using a bolt.The strip must be bent in such a way that, after resting on the sliding bearing, it moves slightly to the side for a comfortable grip.
Next, the machine bed is assembled. To do this, a part of the bracket is put on the rack, then the square is inserted, the spring and the bracket are put on completely. After this, the limiter is inserted and tightened with a screw through the side hole. A bearing is screwed onto the corner of the bracket. Then a handle is screwed onto the square, and it itself is pressed with a wing bolt to the rack. Finally, you need to lubricate the rod for better sliding.
The engine is attached to the frame using two clamps. It is then connected to the power supply. If you have a speed controller, it is better to do this through it. Then a drill is installed in the chuck, and the machine is adjusted in height. This is done by releasing the bolt on the square, pressing it against the post.
Watch the video
Similar master classes
How to make a drilling machine from a jack and a washing machine motor
Drilling machine centering attachment for precision drilling
Plastic pipe drilling machine
How to make a machine for quickly making forged lattice
How to remove a pressed pulley from an electric motor and install
Do-it-yourself mini jigsaw 3.7 V
Particularly interesting
Comments (0)

