How to make simple metal gate latches from scrap materials
Metal gates in a fence or garage that are not securely locked in the closed position and cannot be opened by unauthorized persons will not fully perform their functions. Factory-made products are expensive and are not always able to withstand harsh operating conditions for a long time. Quite simple, but reliable and durable valves can be made with your own hands from waste materials.
Will need
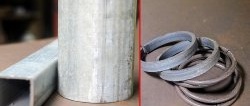
For work we will need:- Steel round bar;
- steel strip;
- steel square rod;
- lever for bending reinforcement;
- anvil and hammer;
- pliers;
- welding machine.
The manufacturing process of latches for metal gates
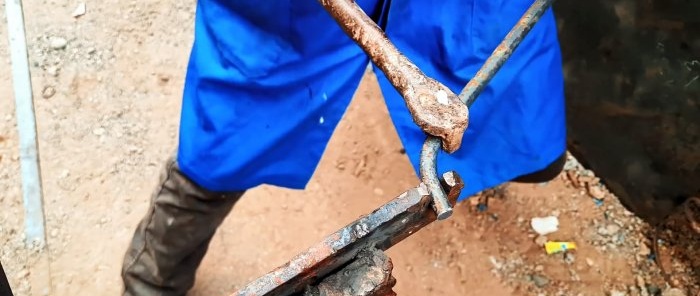
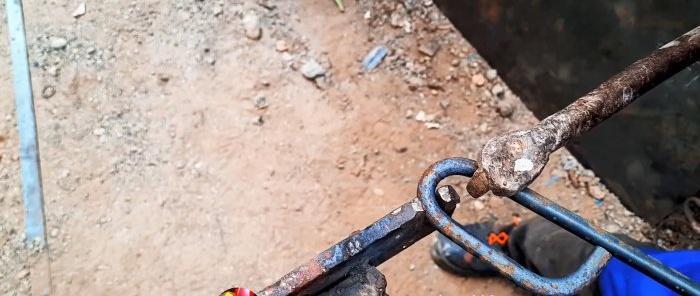
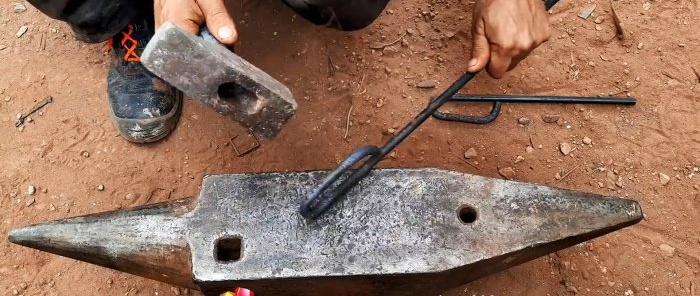
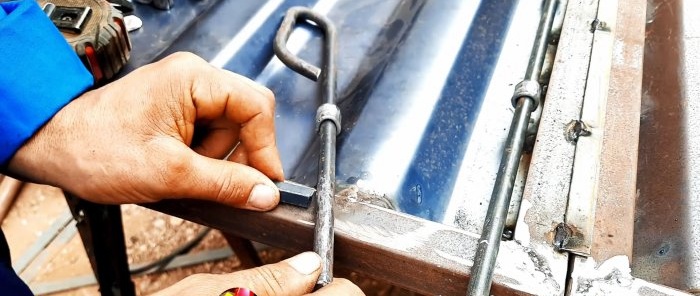
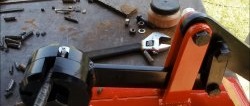
Using a simple lever, we bend the steel bars at one end in two places to obtain elongated closed handles, which we correct with a hammer on an anvil.
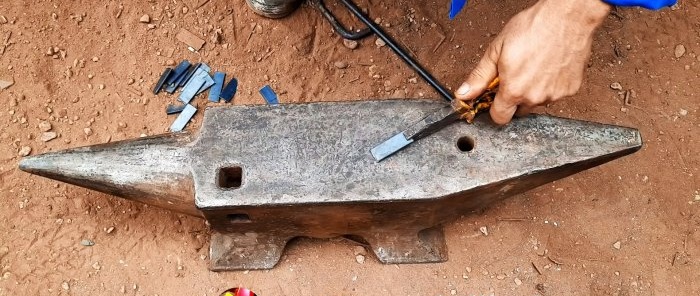
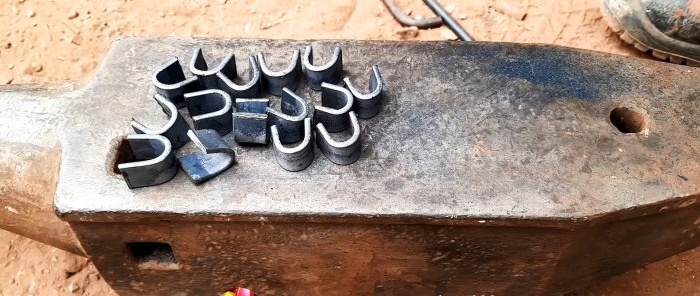
We cut pieces of a given length from a steel strip and bend them with a hammer on an anvil into an arc with parallel ends.
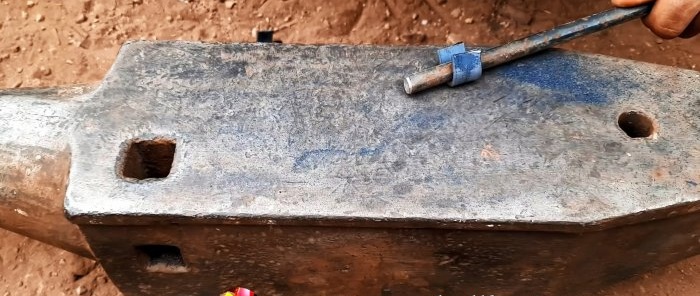
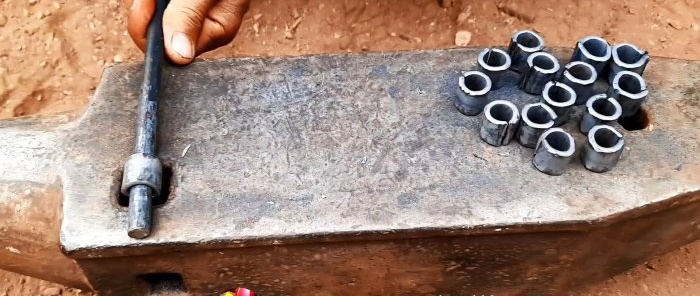
Then we form rings from the arcs by tapping them around the bar with a hammer on the flat surface of the anvil and over a square socket so that they slide freely along the bar.
Now these and short elements made of a steel square rod must be strengthened in a certain order on the gate leaves from below and above.
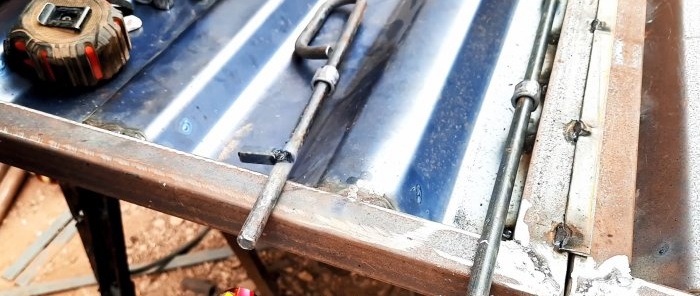
We attach the gate valves with their handles up to the vertical post of the gate frame and mark the required amount of overhang in relation to the lower edge of the gate.
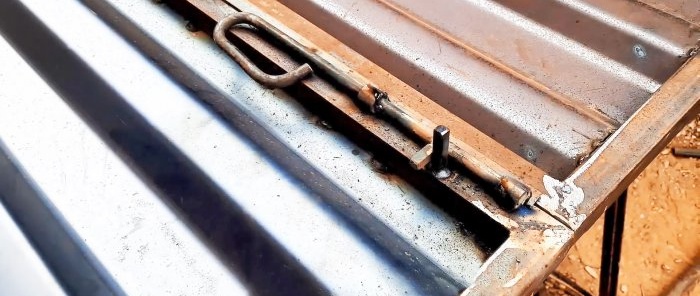
We put two rings on the longer clamp, and one ring on the short one. At the level of the departure mark, we weld one travel stopper from a square rod perpendicularly to the clamps.
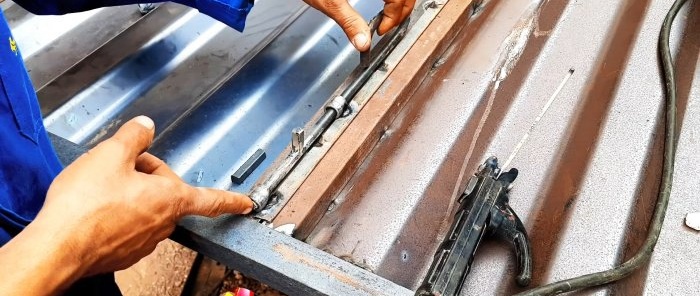
We put a second ring on the short clamp, and placing a corner under it on the horizontal frame element to ensure a guaranteed gap between the clamp and the gate frame element, we weld the rings to the frame post in the center.
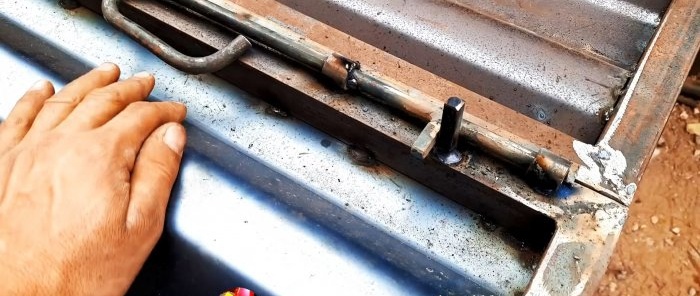
Under the travel stop, welded to the lower latch, and placed along the door leaf (like the handle), we vertically attach a stop to the gate frame post using welding, which will hold the latch in the open position.
We attach the second clamp in the same way, but since it is longer than the first, we use the third ring. At the same time, we weld the intermediate ring under the stopper to the frame in such a place that the end of the stopper does not jump out of the lower ring.
Since this is a top fixation unit, we weld the stop over the stop and under the top ring when the stop is in the closed position.

