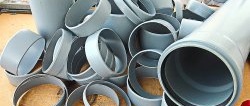
Amazing ideas, non-standard use of PP pipes
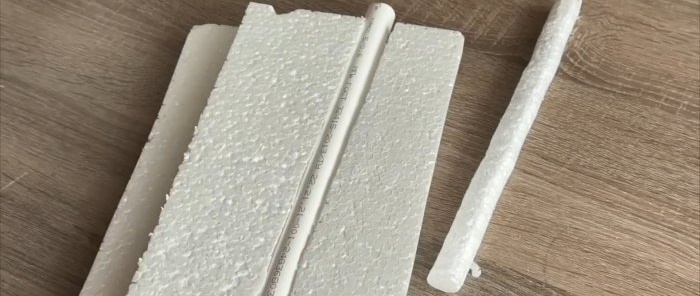
Cutter for cutting cylindrical blanks from foam plastic
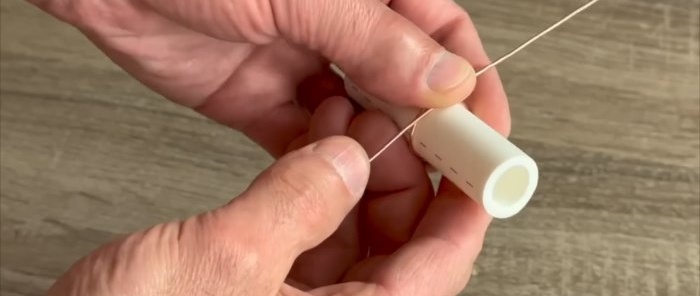
We cover a plastic pipe of the required diameter with copper wire and make a loop.
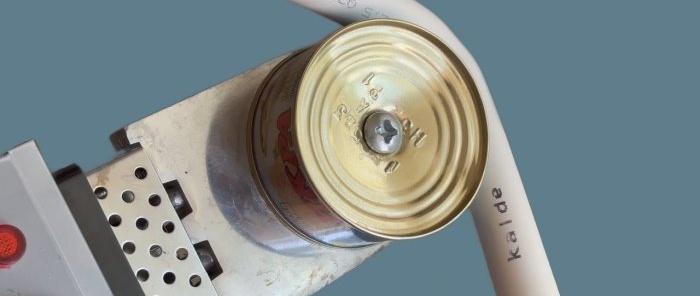
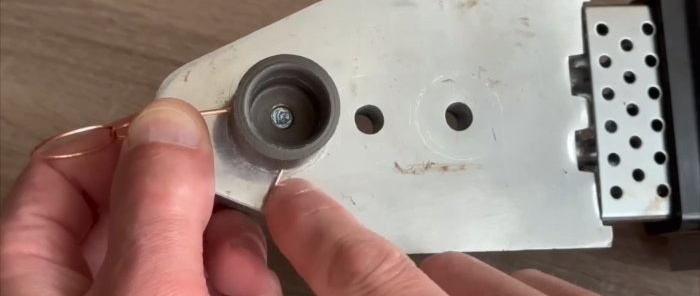
Bend the ends in the direction opposite to the loop 90 degrees. We press the ends against the heating plate of a welding machine for plastic pipes.
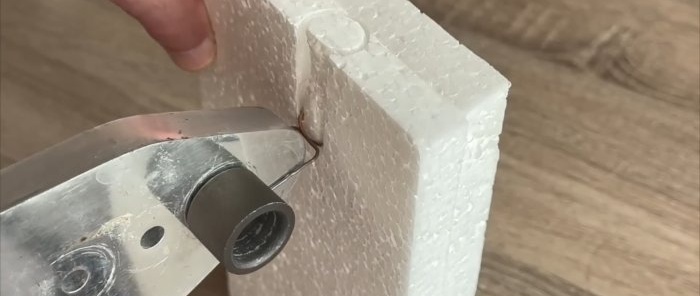
We set the required temperature, heat the cutter made of copper wire and cut out cylindrical blanks of any configuration from foam plastic.
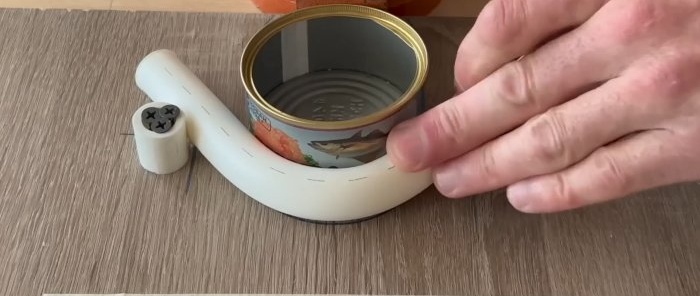
Plastic pipe bender from a vice and a tin can
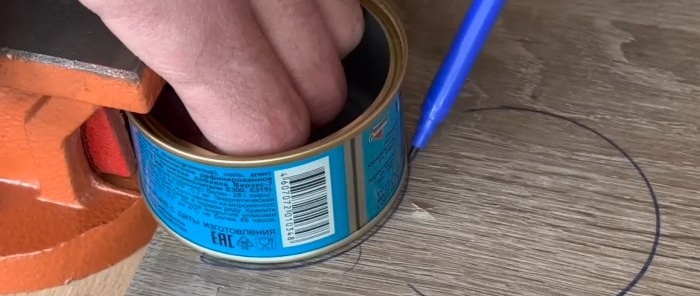
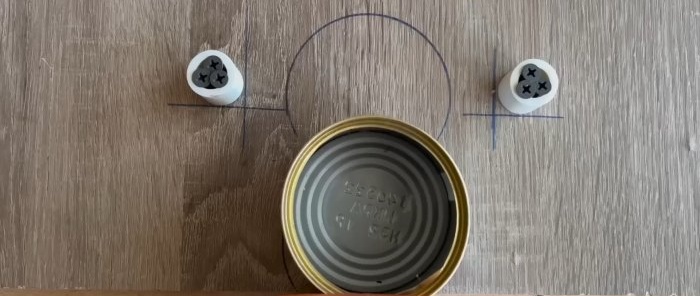
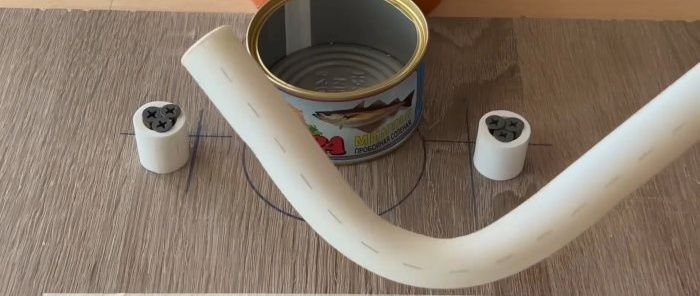
We fix the vice with closed jaws and a sheet of chipboard on a strong wooden base. We rest the empty tin can against the end of the movable element of the vice and draw a semi-closed line on the chipboard symmetrically to the longitudinal axis of the tool. We push the jaws of the vice as far apart as possible, again rest the can against the movable element of the vice and also draw an open line around it. Place the jar on the first (farthest from the vice) line. We press a piece of pipe parallel to the longitudinal axis of the vice against the can on both sides, one by one.
We draw straight lines on the outside.We lay the pipe in front of the can transversely to the two previously drawn lines. We draw straight lines intersecting the first two. We install short sections of pipe on the butt in the outer quadrants formed by straight lines. We fix them firmly to the chipboard with three self-tapping screws.
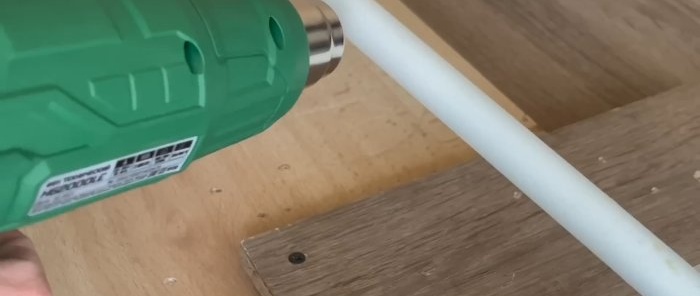
We heat a section of plastic pipe in the flame of a gas burner, lay the heated pipe between the stops and the can.
We bring the jaws of the vice together until we obtain the required bending angle of the plastic pipe. Cool the bend with a wet cloth and remove the end of the movable element of the vice.
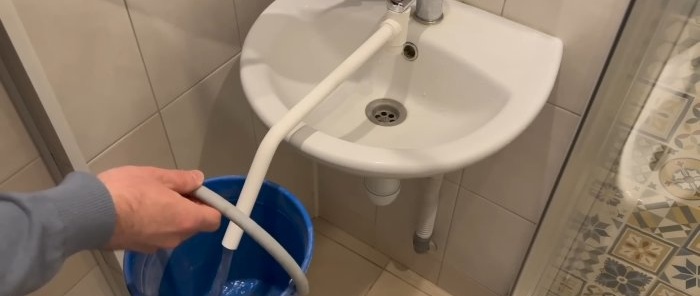
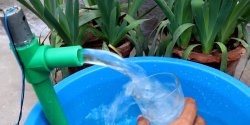
A device for drawing water into a container from a short mixer and a small sink
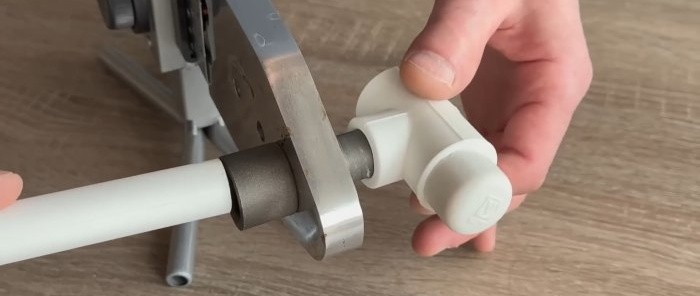
We bend one end of the plastic pipe by about 45 degrees, and solder the tee outlet to the other. In the fitting, we first close one passage with a plug using a welding machine for plastic pipes.
We connect the free passage of the tee to the mixer and, holding the container outside the sink, draw water.
Handle for furniture door made of plastic pipe
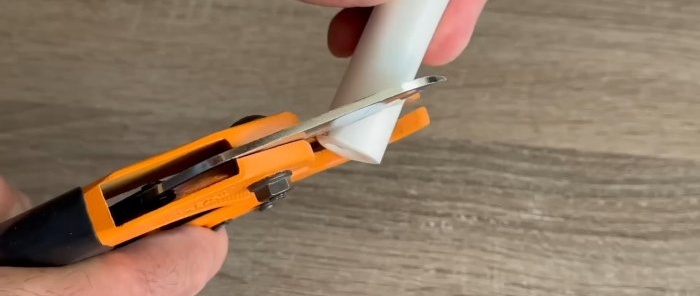
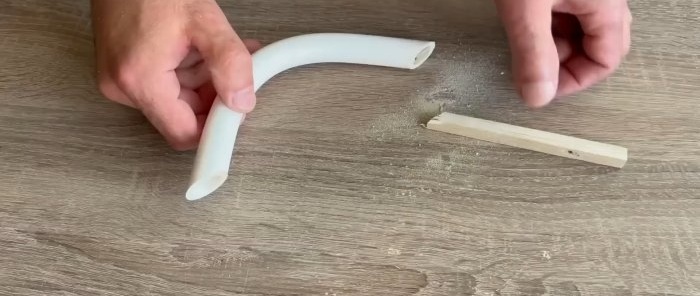
We bend the plastic pipe in the center at 90 degrees. We cut the ends of the pipe from the inside at a certain angle, for example 45 degrees.
We insert a piece of plastic or wood into the pipe and cut it, using the ends of the pipe as a template.
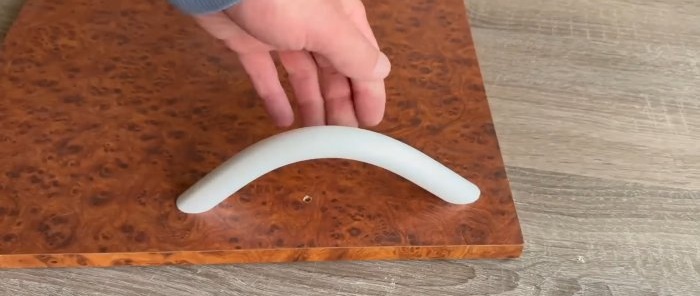
We bend the plastic pipe blank along a given radius. We cut its ends at such an angle that they fit tightly to the surface of the door. On the reverse side, at the required angle, we screw in self-tapping screws, which, digging their tip into the walls of the handle pipe from the inside, firmly hold and fix the handle.
Latch handle for a wooden door made of pipe and plastic clip holders
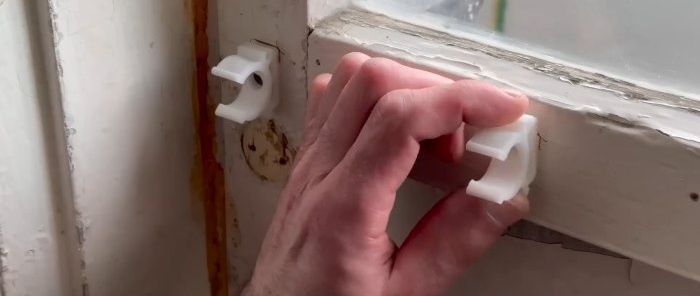
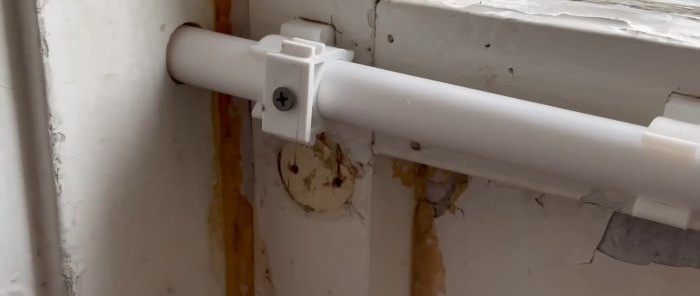
We will replace the old door handle with a new one made of plastic. To do this, attach 2 clip holders to a piece of pipe of the required length at the ends.
We press the resulting assembly with the bases of the holders to the door leaf. We mark the places of contact of the holders with the door. Using these marks, we attach the holders to the door leaf using self-tapping screws. Return the pipe section to the holders. We rest the pipe against the door jamb and transfer the outer contour of its end to the jamb. Using a feather drill, we make a blind hole in the jamb.
Close the door and slide the pipe along the holders into the blind hole. Close to the left holder from the inside, we attach another holder-limiter to the pipe with a self-tapping screw, which also performs the function of moving the pipe to the right (to open) and to the left (to close).
Collet extension made of plastic pipe and screw with wing nut for mop handle
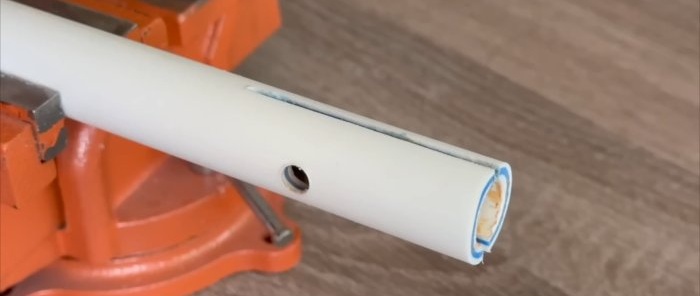
From one end in the center of a thick-walled plastic pipe we make a longitudinal slot to the calculated depth. Closer to the blind end of the slot, drill a through hole transversely to the slot.
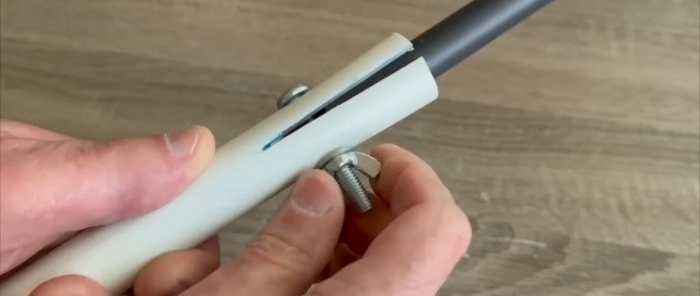
We insert a screw into the hole, put a washer on it on the back side and screw on the wing nut.
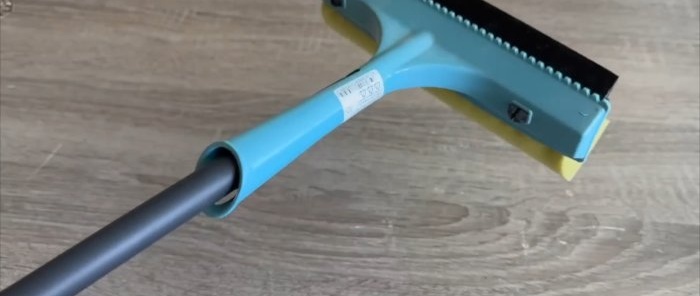
We insert a handle, such as a mop, into the extension from the side of the slot and tighten the improvised collet with a wing nut.
Mini rakes made from protective wire fan casing
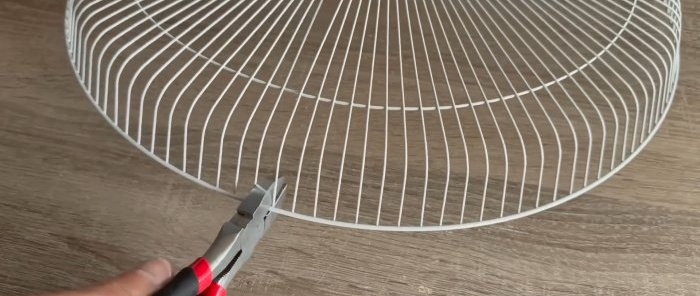
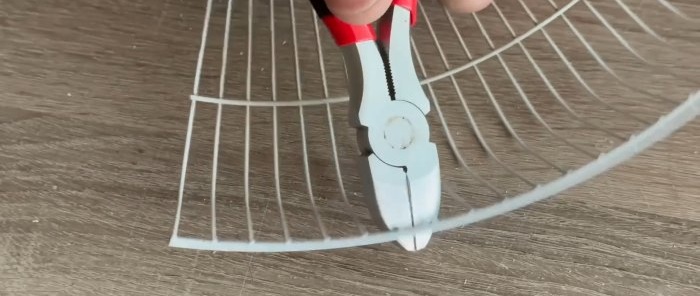
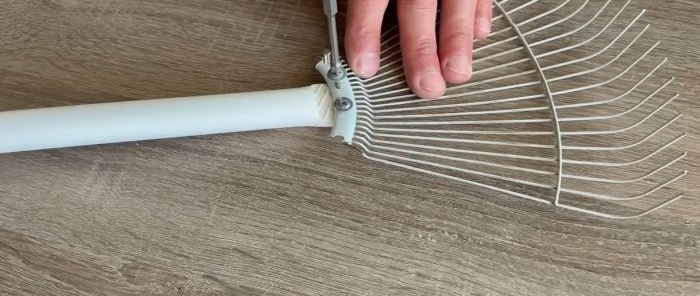
In accordance with the planned width of the rake, we mark and cut the inner ring-shell holding the spokes of the casing. Also at this level we cut through the intermediate and outer wire ring. In the resulting sector, we separate part of the outer ring by biting off the radially located knitting needles.
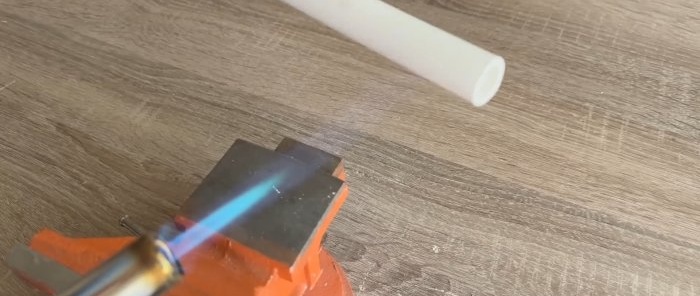
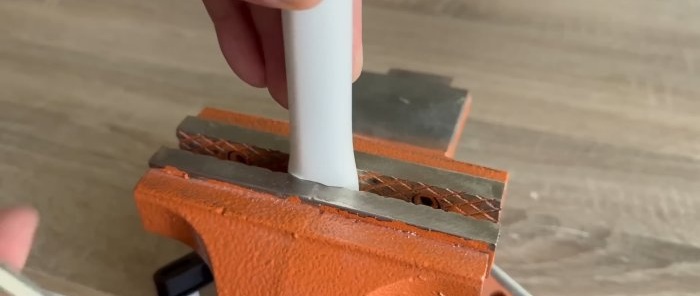
We heat the end of the plastic pipe in the flame of a gas burner and flatten it between the jaws of a vice.
We drill 2 holes in part of the inner ring-shell and screw the wire sector to the flattened part of the pipe.
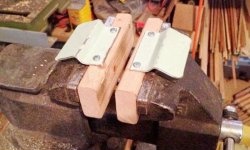
Device for forming semi-clamps from sheet metal and securing pipes to the wall
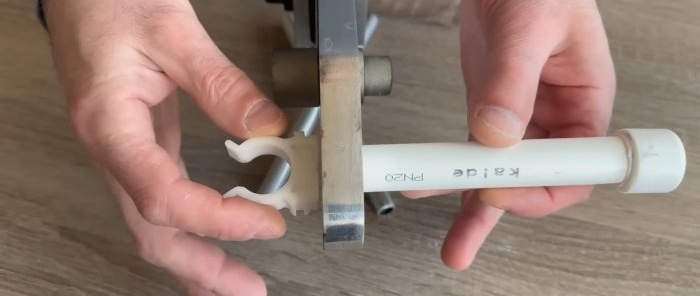
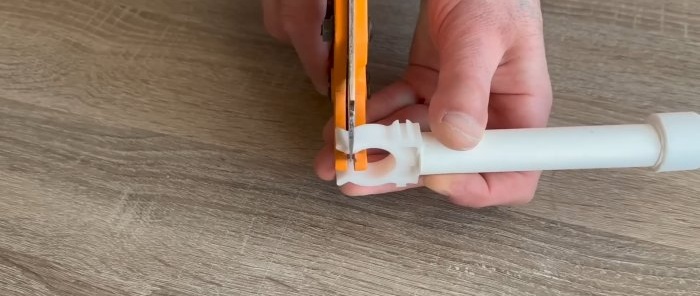
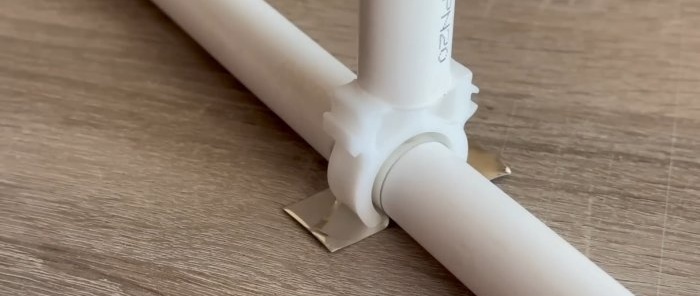
We weld a clip holder, also made of plastic, to a plastic tube with one end plugged and remove the bends from the arms.
We place the rectangular tin blank on the pipe and press it on top with the modernized clip of the resulting device. As a result, we form a half-collar.
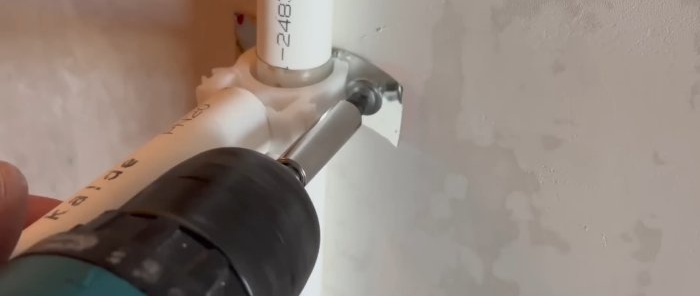
Using the same device, we press the half-ring of the clamp to the pipe, and the legs to the wall, which we secure with self-tapping screws.
Heated towel rail made of plastic pipe and two clip holders
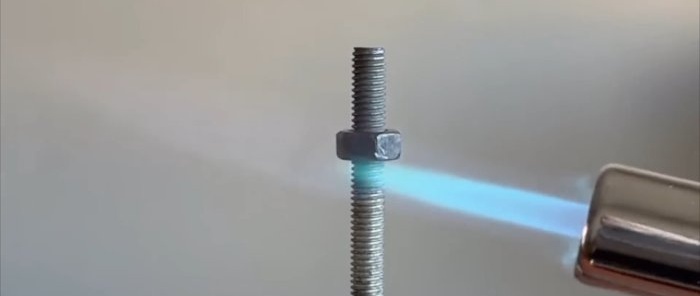
We heat a steel nut screwed onto a bolt or stud in the flame of a gas burner.
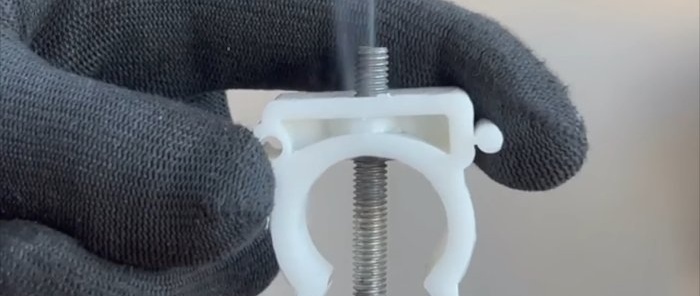
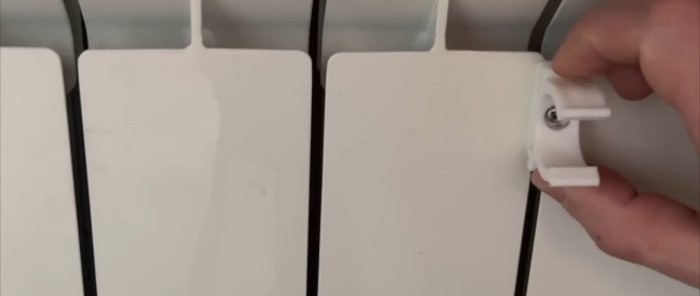
We press the hot nut into the plastic clip holder, pushing it onto the nut from the inside.
We screw a countersunk bolt into the nut from the inside. We put a washer on it from the outside and screw on the nut. We place the assembly in the gap between the plates of the heating battery so that the nut is on one side of the plates and the base of the clip is on the other.
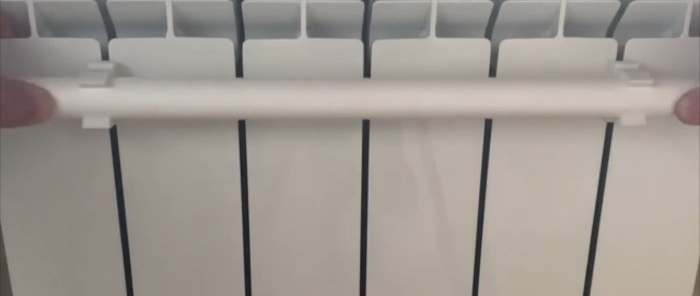
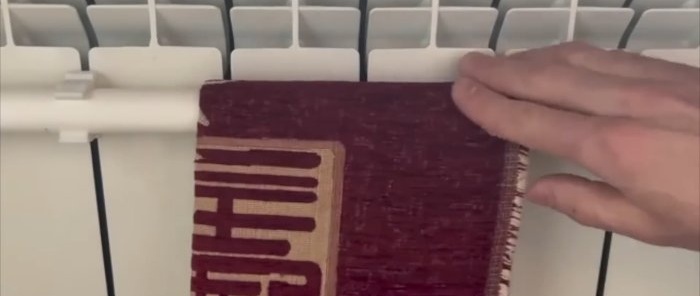
We secure the assembly to the battery by tightening the screw and holding the nut. We fix the same assembly at the same level in another space between the plates and fix the plastic pipe in the clips.
It turned out to be a drying rack for towels, socks, etc.
Wing nut made of a simple nut and a smooth plastic coupling
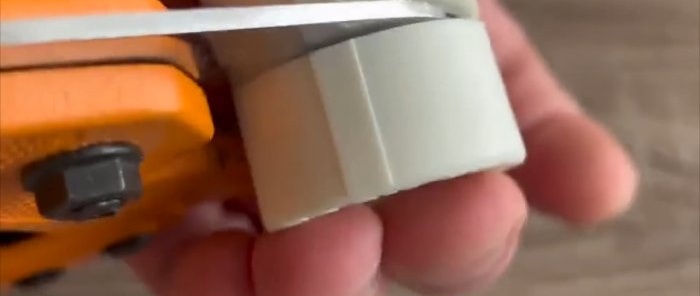
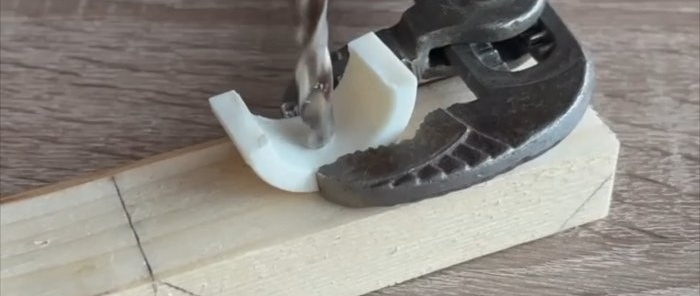
We first cut the smooth plastic coupling into halves in the transverse direction, and then in the longitudinal direction.
As a result, we get 4 identical half rings. We drill holes in them in the center.
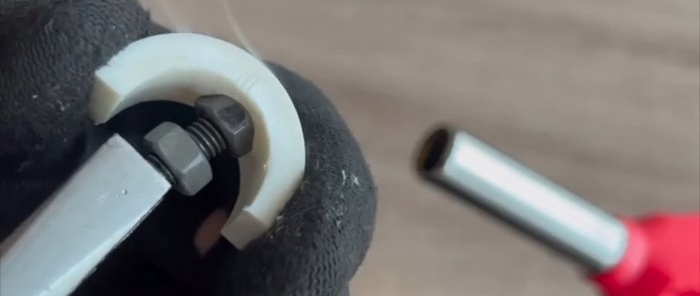
In the flame of a gas burner, heat the nut screwed onto the bolt or stud.We press the hot nut into the half ring from the inside, using the hole as a guide for the bolt with the nut.
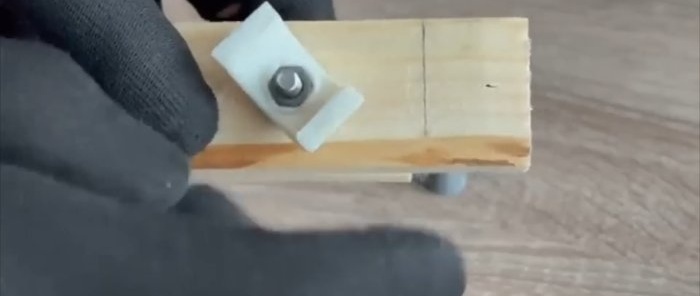
After unscrewing the nut from the bolt and cooling, it is firmly fixed in the half ring. We have received an analogue of a wing nut, with which you can reliably and quickly fasten workpieces and parts.

